
Today we will show you how to draw a Tesla Model S. As always, this will be a convenient step-by-step drawing lesson with detailed illustrations.

How to Draw a Tesla Model S: Introduction
Today our lesson will be devoted to the wonderful world of cars and the art of drawing. We will dive into the world of innovation and style, discuss the legendary car that embodies the power of technology and the beauty of design – the Tesla Model S. We tried to make this lesson about how to draw a Tesla Model S understandable and convenient for an artist of any skill level.
Tesla Model S is not just a car. It is an icon of modernity, a symbol of electric mobility and high technology. Its elegant lines, powerful engine and smart features make it truly unique. Today we will have the opportunity to look at this car from an artistic point of view and try to capture its beauty on paper.
Get ready for an exciting journey into the world of creativity and automotive innovation. Let’s begin our exciting adventure in the art of drawing and learn how to draw a Tesla Model S.
We will look at the main design features of the Tesla Model S, examining its shape, proportions and details. I’ll walk you through the steps of creating an amazing piece of art inspired by this magnificent car.
Tesla Model S Drawing Tutorial
Time needed: 1 hour
How to Draw a Tesla Model S
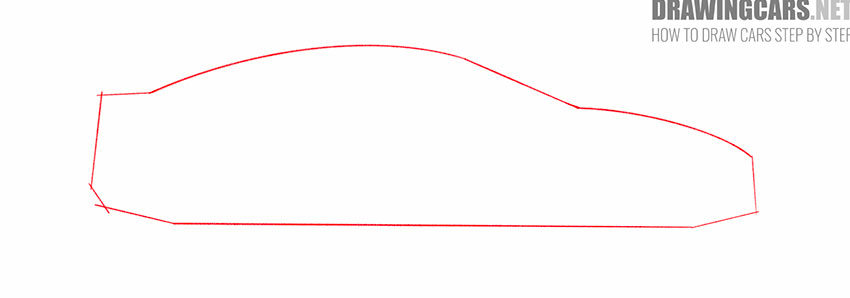
- Draw the main outline of the Tesla Model S.
With the help of straight and curved lines depict the outer contour of the car. The bottom part looks flat, the sides are made up of straight lines, and the top part is convex.
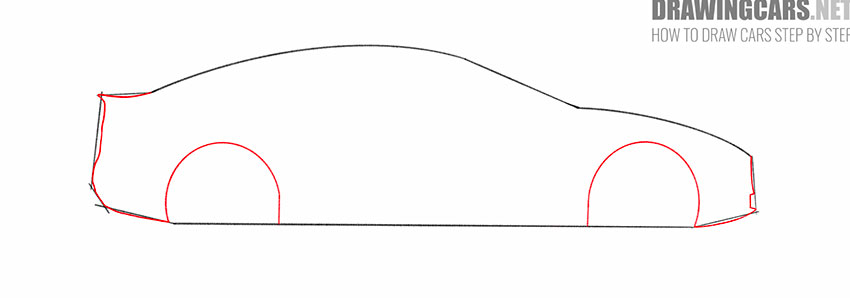
- Mark the contours of the arches, as well as the front and rear lower parts of the car.
At the bottom of the shape you drew earlier, add two symmetrical arcs, as well as curved lines on the right and left sides.
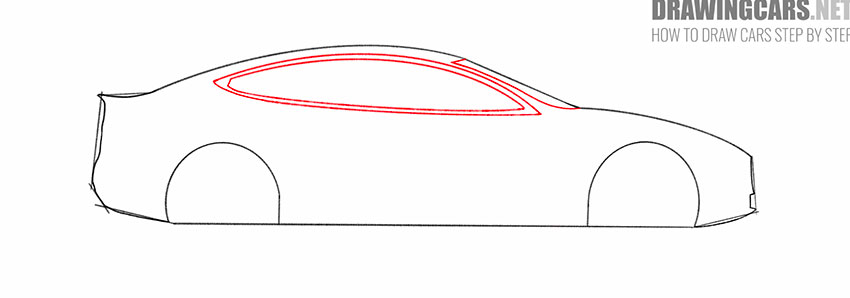
- Sketch out the windows.
Depict the visible part of the windshield. To draw the side window draw curved lines, arcs, and a short straight line.
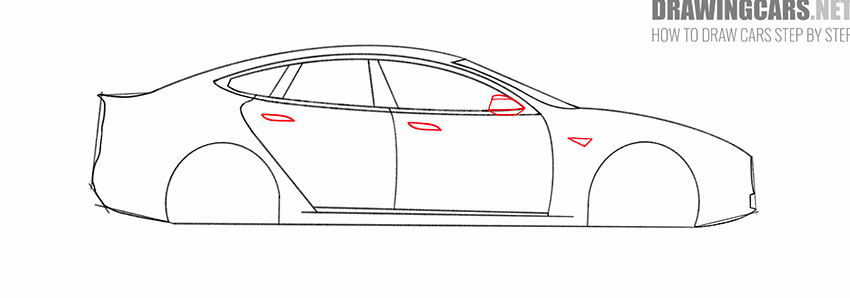
- Add the outlines for the doors and threshold of the Tesla Model S.
Draw straight and curved lines inside and outside the previously drawn windows, and add straight lines of various lengths at the bottom of the car.

- Add the door handles, side mirror and other elements.
Depict straight and curved lines near the window and on the doors of the car, and add a triangle to the front of the Tesla Model S.
- Depict the headlights and other elements to the front and back of the car.
On the right and left sides, inside the outline of the car you drew earlier, add arcs, straight lines, and curved lines of varying lengths.
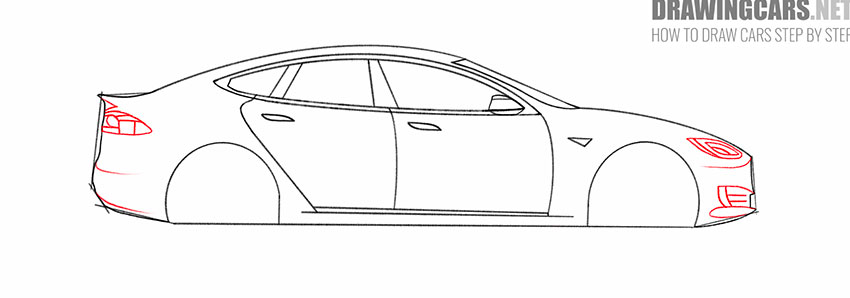
- Sketch out the bumps on the side of the Tesla Model S.
Now you should draw straight and curved thin lines of various lengths on the side of the car, and add arcs above the previously drawn car arches.

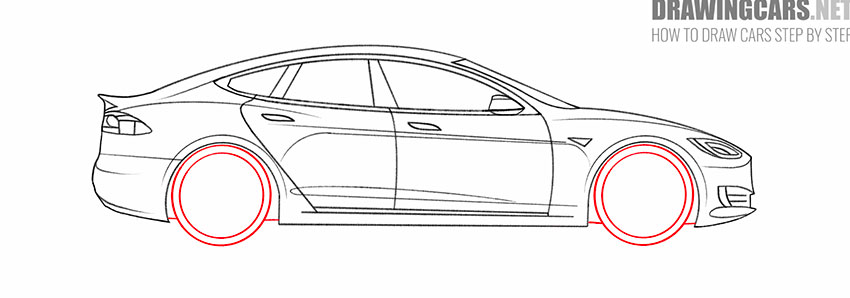
- Add the car wheels and erase extra lines.
Draw two symmetrical wheels using circles of different diameters, add short lines around them, and also remove unnecessary auxiliary lines with the eraser.
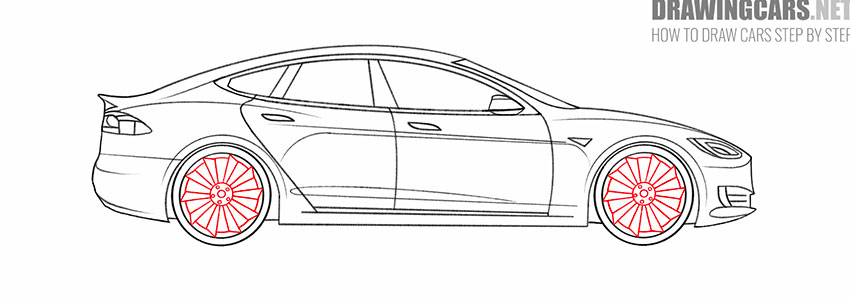
- Finish drawing the Tesla Model S wheels.
Inside the previously drawn circles, add more circles of different diameters, as well as many straight lines of different lengths.
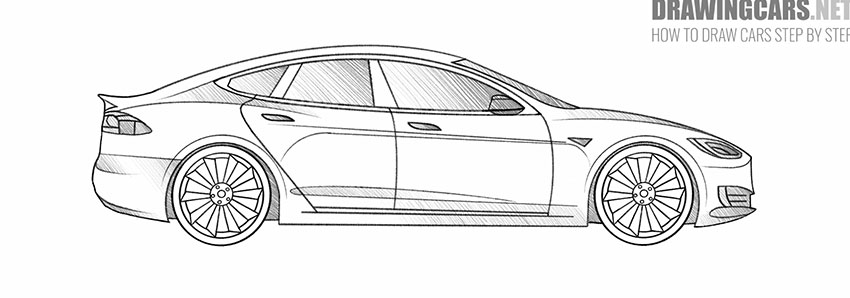
- Make the drawing more realistic.
Now you can apply hatching of different density to your drawing to indicate dark areas and make your drawing more realistic and voluminous.


Easier Drawing Techniques
When we finished creating this drawing guide, we thought we could make it even easier. Therefore, we have drawn an additional guide that will help even beginning artists draw Tesla Model S.
How to Draw a Tesla Model S for Beginners
To achieve noticeable simplification, we had to try very hard. We could not change the design appearance of the car so as not to change the theme of the drawing lesson. So we got rid of shadows, textures and highlights. We also made it easier to draw Tesla wheels.

Conclusion
Another drawing lesson has come to an end, and now you know how to draw a Tesla Model S step by step. If this lesson was interesting and useful for you, then leave a small review in the comments. All your feedback motivates us to create new exciting lessons, and we always take into account your wishes.
Leave a Reply