
In this drawing lesson we will tell you how to draw a Tesla Model X. We divided a complex drawing object into simple and understandable steps.

How to Draw a Tesla Model X: Introduction
Welcome to the drawing lesson dedicated to one of the fastest and most stylish electric cars of our time – the Tesla Model X. Creating a simple tutorial on how to draw a Tesla Model X is not an entirely simple task. But we hope we accomplished it.
So, Tesla Model X is not just a car, it is a work of art among automotive innovations. Its unique Falcon doors, stunning column and modern interior make it unique. In this lesson, we look at every detail of this car, from the graceful lines of the body to the latest technological innovations.
Get your pencils, moths, or graphics tablet ready and get ready to jump into a world of creativity and innovation. We learn the magnificence of this car on paper, enrich our drawing skills and get inspired by future automotive design.
Let’s go create masterpieces! Let’s start drawing Tesla Model X!
Tesla Model X Drawing Tutorial
Time needed: 1 hour
How to Draw a Tesla Model X
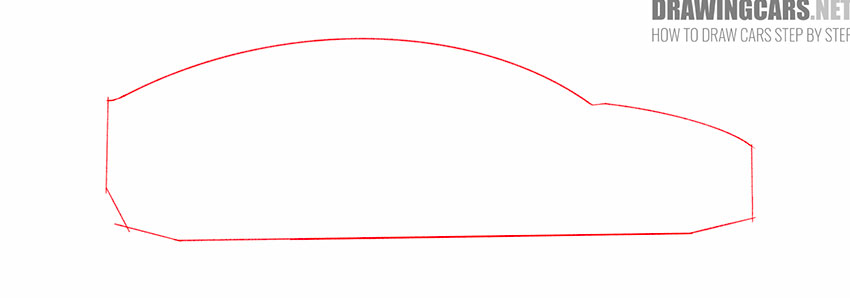
- Draw the main outline of the Tesla Model X.
With the help of straight and curved lines depict the outer contour of the car. The bottom part looks flat, the sides are made up of straight lines, and the top part is convex.
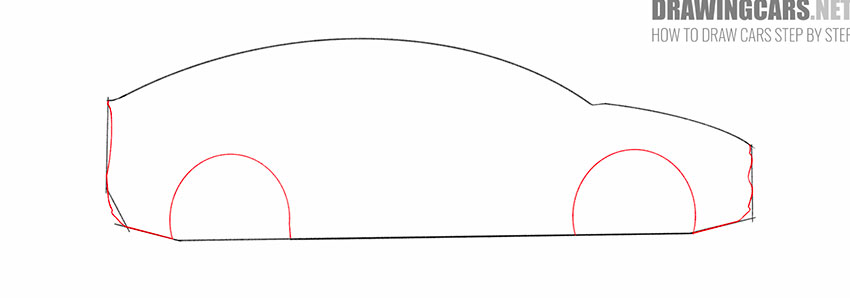
- Add the front and back of the Tesla Model X and add the arches.
Near the side lines of the previously applied markup, draw curved lines of various lengths, and also add arcs at the bottom of the intended outline of the car.
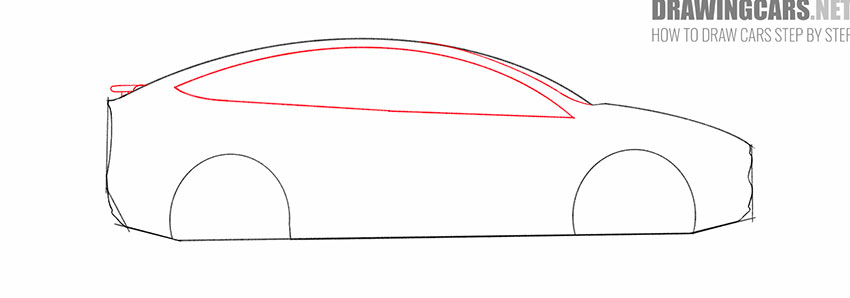
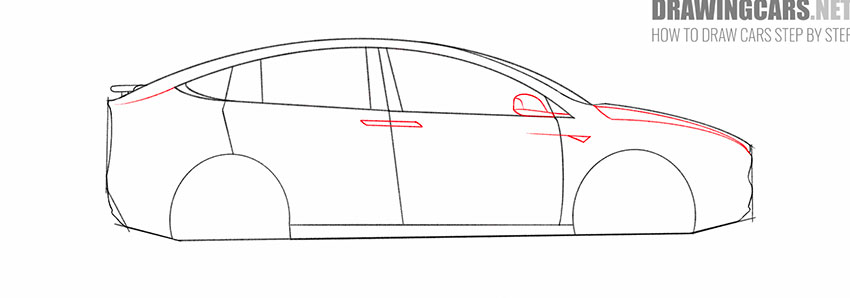
- Depict the outlines of the windows, and also add an element behind the car.
At the top of the car, add a large, elongated arc and two curved lines. At the back of the car, add short straight and curved lines.
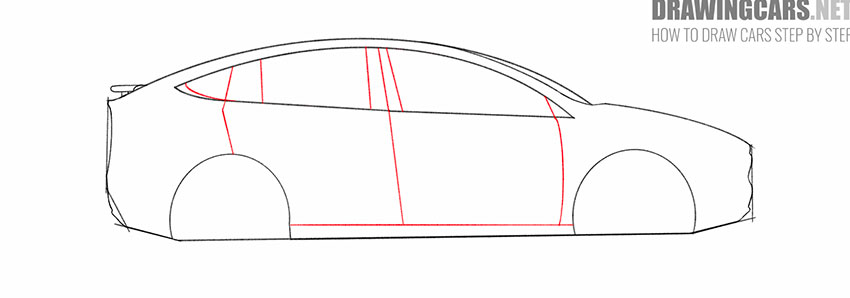
- Add outlines for the doors and threshold of the Tesla Model X.
So, we continue the lesson about how to draw a Tesla Model X. Depict straight and curved lines around the previously drawn car windows, and add a straight horizontal line at the bottom of the car.
- Draw the outline of the door handle, side mirror and other elements.
Now you should use straight and curved lines of different lengths to add these necessary details to the side, front, and back of the car.
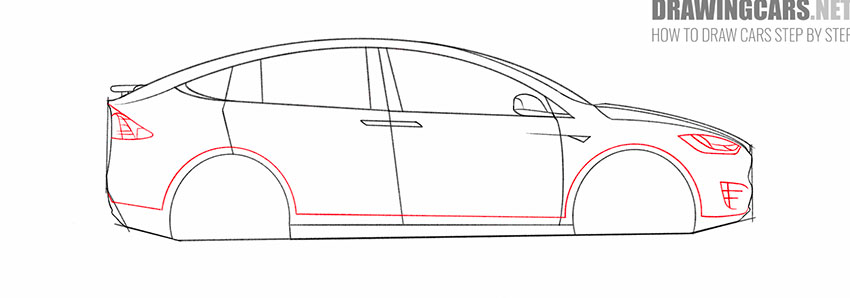
- Add the headlights, elements in the front of the car, and complete the footboard drawing.
Now you should add straight and curved lines of varying lengths to the front and back of the car, as well as straight lines and arcs at the bottom of the car.
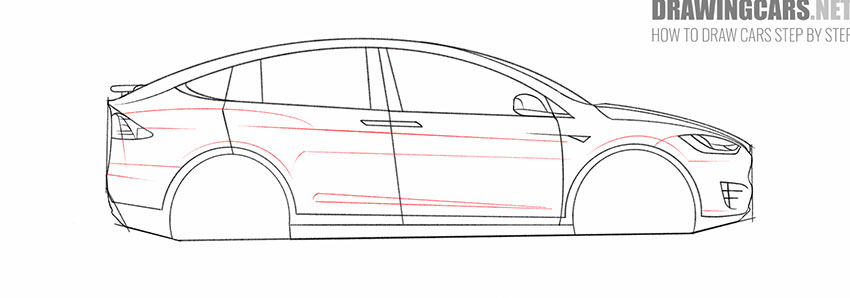
- Sketch out the bumps on the side of the Tesla Model X.
Now you should draw straight horizontal and slanted thin lines of different lengths on the side of the car, and add arcs and curved lines.
- Add the car wheels and erase extra lines.
Draw two symmetrical wheels using circles of different diameters, add short lines around them, and also remove unnecessary auxiliary lines with the eraser.
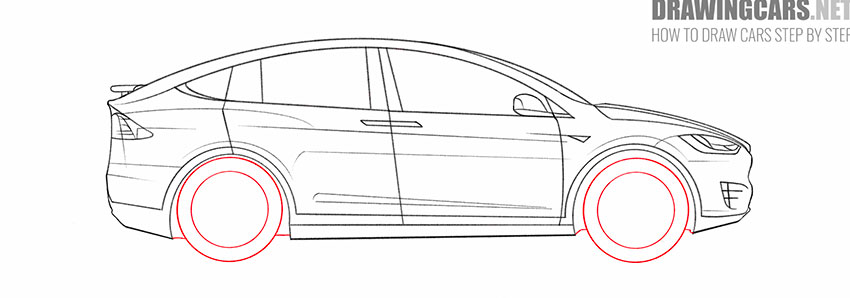
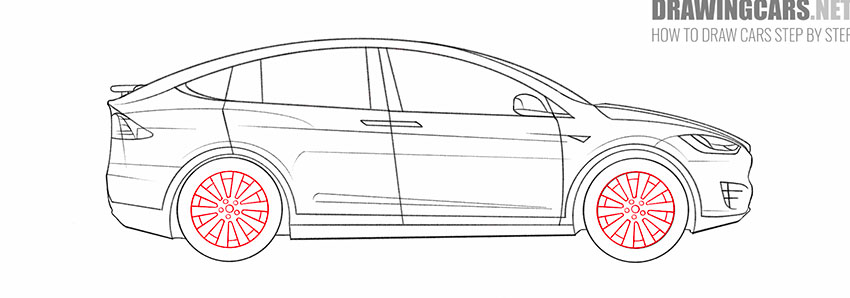
- Finish drawing the wheels of the Tesla Model X.
Inside the previously drawn circles, add more circles of different diameters, as well as many straight and curved lines.
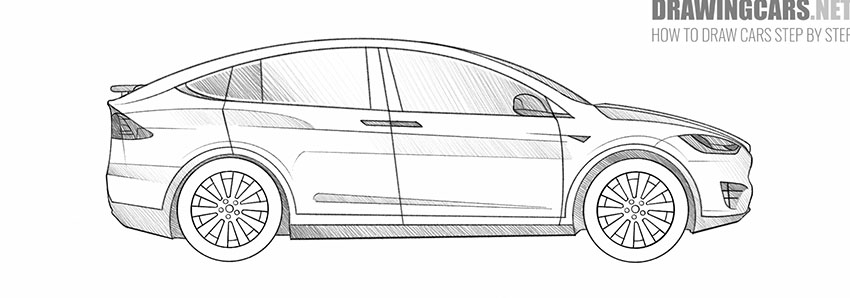
- Apply the hatching to the finished drawing.
Now you need to mark the darkened and bulging parts on the body of the car. To do this, add short thin strokes, as shown in our example.


Conclusion
In this Tesla Model X drawing tutorial, we delved into the exciting world of automotive art and innovation.
Remember that art is not only about mastering technique, but also about the ability to see beauty in the world around us. Tesla Model X is more than just a vehicle, it is an inspiration, a symbol of innovation and humanity’s efforts towards a more sustainable future.
Your effort and creativity in drawing this amazing car speaks volumes about your talent and attention to detail. Keep drawing, exploring and creating. Don’t stop there and always strive for new heights of art.
Thank you for participating in this lesson on how to draw a Tesla Model X. Remember that your creativity is unique and valuable. Good luck with your future projects and artistic explorations!
Leave a Reply