
So, in this lesson we will tell you how to draw a Porsche. This is a very cool and technologically advanced car, and we tried to draw it as cool as possible.

How to Draw a Porsche: Introduction
Today’s lesson invites you to plunge into the exciting world of design and luxury with a lesson in drawing the legendary Porsche car. Porsche is not just a vehicle, it is the epitome of speed and elegance. We offer you the opportunity to look at this car from an artistic point of view and try to convey its unique character and style on paper. We created this lesson on how to draw a Porsche especially for this.
Throughout this tutorial we’ll explore every curved line, every exquisite design element that makes a Porsche truly unique. You will learn to capture the movement and emotion inherent in this car and translate it into your drawings.
Prepare yourself for an exciting journey into the world of automotive art. So, take yours pencils and paper, discover your creativity and let’s create works of art together, inspired by the legendary Porsche. Ready to start this exciting creative adventure?
Time needed: 1 hour
How to Draw a Porsche
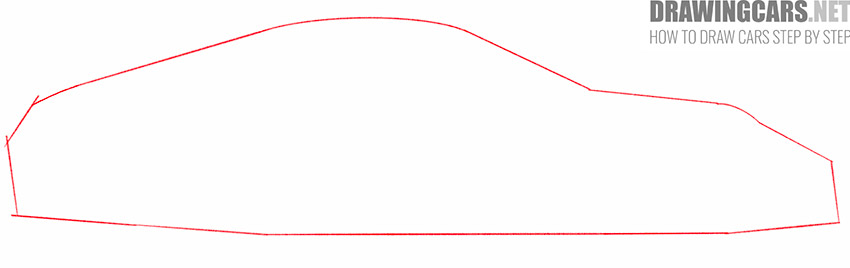
- Sketch the main outline lines of the Porsche.
For this step, you can sketch out the main outline of the car slightly casually, using straight and slightly curved lines.
- Draw the front and back of the Porsche and add the arches.
Near the side lines of the previously applied markup, draw curved lines of different lengths, and also add the same arcs at the bottom of the intended contour of the car.

- Sketch out the windows of the car.
Depict the visible part of the front and rear windows using straight lines. With the help of smooth lines draw an elongated and pointed front side window.

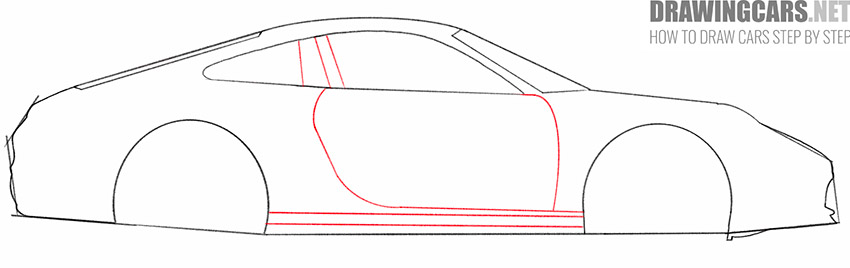
- Add the outlines for the Porsche doors and sill.
Inside the previously drawn side window, draw straight lines, add curved lines below it, and also draw two straight lines at the bottom of the car.
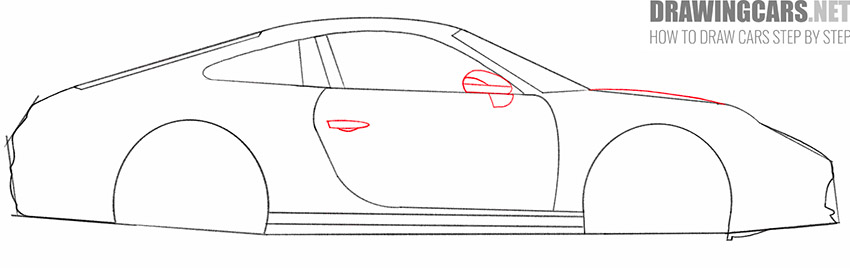
- Add some more car elements.
Draw the side mirror, door handle, and element on the hood of the car using straight and curved lines of different lengths as shown in our reference.
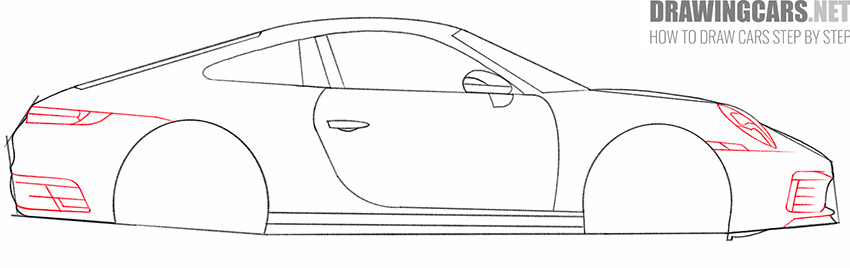
- Add the headlights and other elements to the front and rear of the Porsche.
So, we continue the guide on how to draw a Porsche. On the right and left sides, inside the outline of the car you drew earlier, add straight and curved lines of varying lengths, as shown.
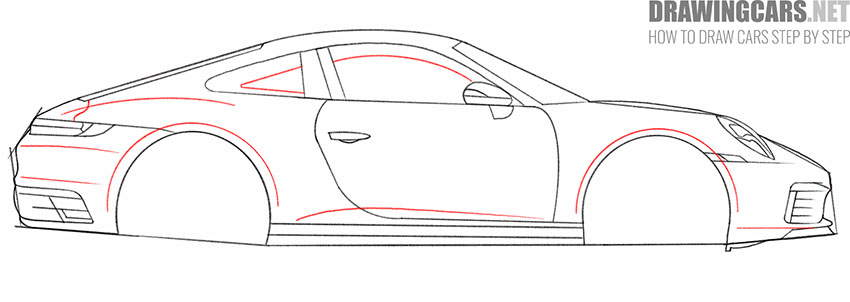
- Depict the bulges and highlights on the side of the car.
Now you need to draw thin straight and curved lines of various lengths on the side of the car and inside the outline of the window, as well as add arcs above the previously drawn arches of the car.
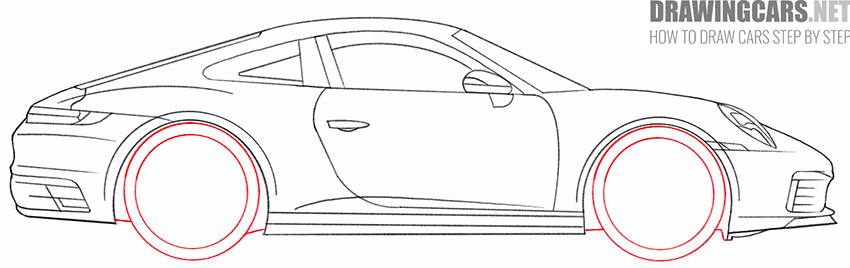
- Sketch out the car wheels and erase extra lines.
Draw two symmetrical wheels using circles of different diameters, add short lines around them, and also erase unnecessary lines with the eraser.
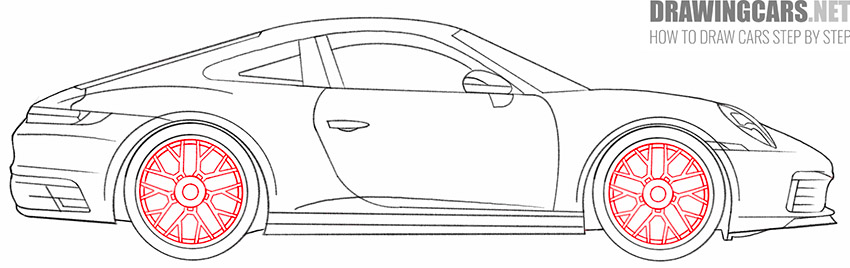
- Finish drawing the Porsche wheels.
Inside the previously drawn circles, add a few more circles of different diameters, as well as many straight lines of different lengths.
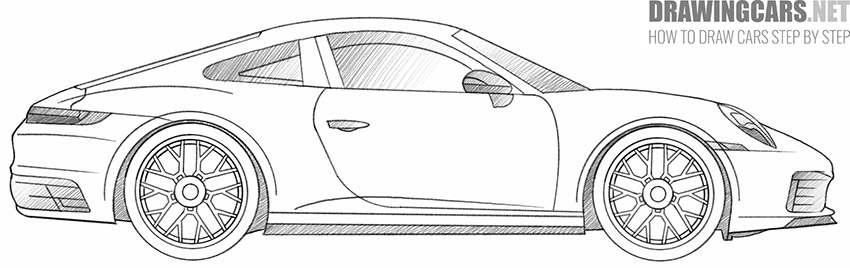
- Add the hatching.
At the last stage of the drawing, add short dashed lines in order to indicate the dark areas and raised elements on the body of the car.


Conclusion
Throughout this tutorial, you’ve delved into the world of automotive artistry, capturing the elegance and speed of the iconic Porsche on your canvas. Remember, this experience is not just about sketching a car; it’s about embracing the essence of Porsche — the marriage of power and sophistication.
As you conclude this tutorial, reflect on how far you’ve come. Your strokes and lines have breathed life into this remarkable machine, showcasing the spirit of creativity within you. But remember, this is just the beginning. Each artwork you create is a stepping stone toward mastering your craft.
Keep practicing, keep experimenting, and keep pushing your artistic boundaries. The journey of an artist is a perpetual exploration. Let the lessons learned from drawing Porsche inspire your future creations. Art knows no bounds, and your imagination is your greatest asset.
Leave a Reply