
This time we will tell you how to draw a police car step by step. We’ve created simple steps from basic geometric shapes to the final details of the finished car.

How to Draw a Police Car: Introduction
So, in this drawing lesson you will learn how to draw a police car step by step. I am sure that this drawing lesson will be interesting for each of you and will help you improve your artistic skills. This is another great lesson that is dedicated to the image of cars. Surely each of you has ever seen police cars in real life or in films, cartoons, video games, as well as on the Internet.
When you learn how to draw a police car, you can easily depict this as the main subject of your drawing, as well as complement any other drawing with this image.
So, gear up and get ready to embark on this creative journey. Whether you’re fascinated by the classic black and white police cars or the futuristic police vehicles from sci-fi realms, this tutorial will equip you with the techniques and inspiration needed to bring your vision to life.
Police Car Drawing Tutorial
Time needed: 1 hour
How to Draw a Police Car
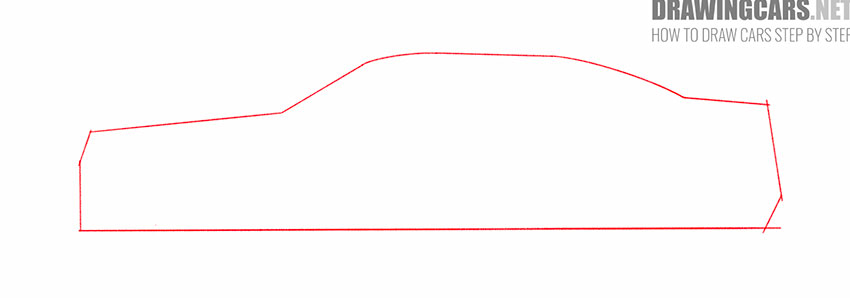
- Draw the main outline.
As usual, start drawing by building baselines. Determine the size of the future drawing and use thin lines to mark the outer boundaries of the car.
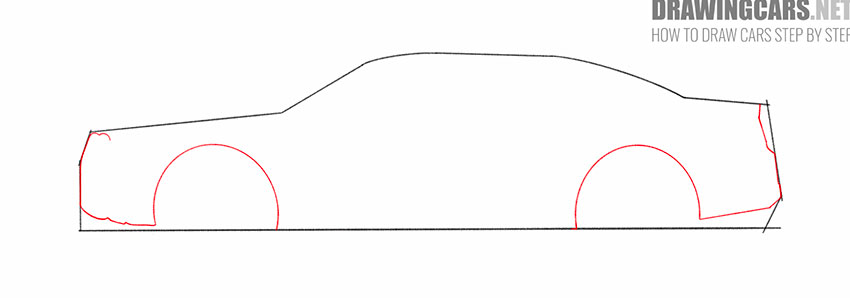
- Detail the bottom of the car.
Using curved lines, draw the front and back of the police car, then add two wheel arches.
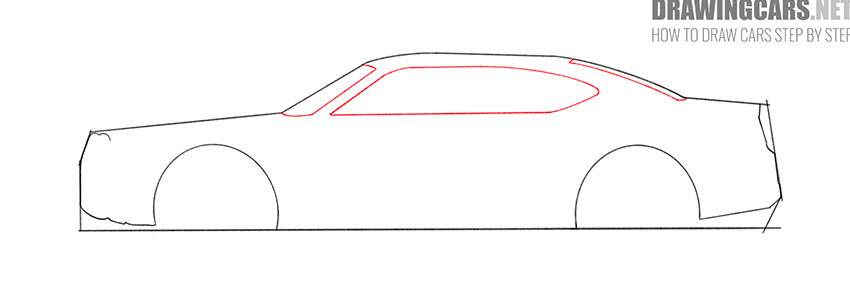
- Add the windows of the police car.
Depict the visible part of the front and rear windows using straight lines. With the help of smooth lines draw an elongated and pointed front side window.
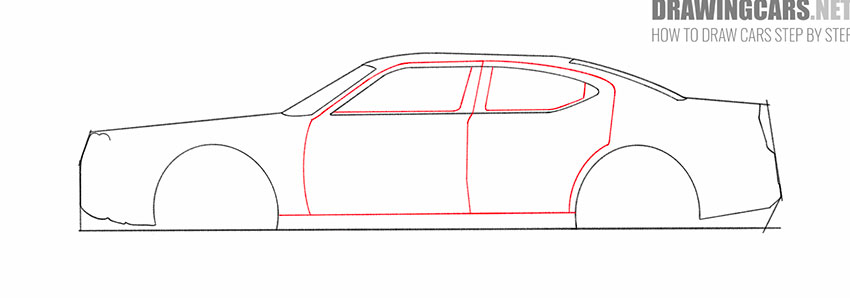
- Sketch out the outlines of the doors and threshold of the police car.
Next to the previously drawn outlines of the windows, add straight and curved lines, and also draw a straight horizontal line at the bottom of the car.
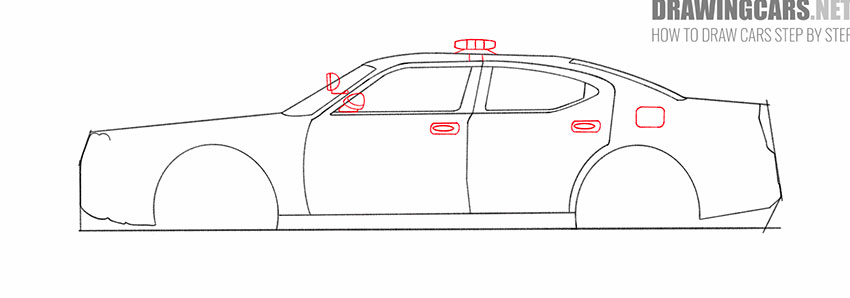
- Add some more elements of the police car.
Draw the side mirror, door handles, beacon, and gas tank door using elongated ovals, straight and curved lines of different lengths as shown.
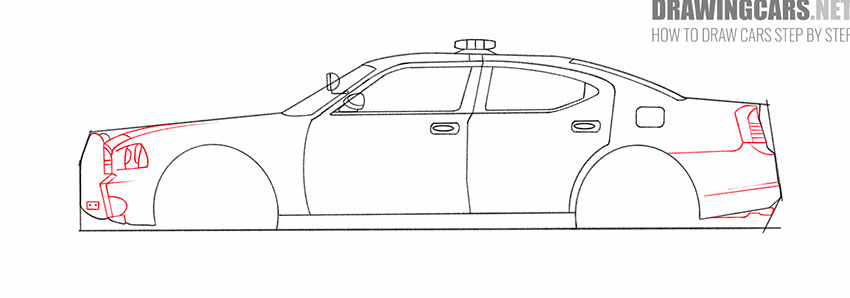
- Draw the headlights and other elements to the front and back of the police car.
Depict straight and curved lines of varying lengths on the front and back of the car to add the headlights, exhaust pipe, car topography, and other details.
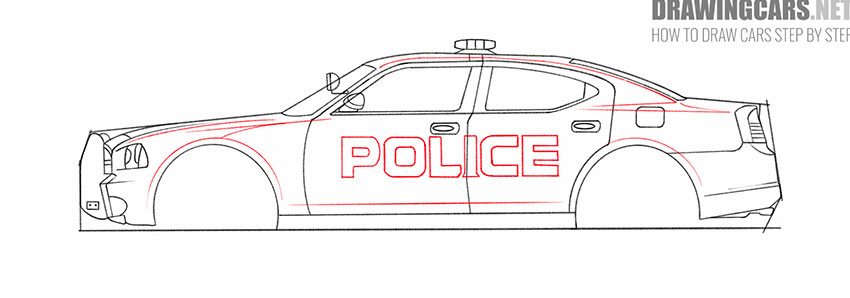
- Depict the raised elements and the inscription on the side of the police car.
Now you should draw thin straight and curved lines of various lengths on the side of the car, add arcs over the car’s arches, and also write the word “police”.
- Add the car wheels and remove extra lines.
Draw two symmetrical wheels using circles of different diameters, add short lines around them, and also erase unnecessary lines with the eraser.

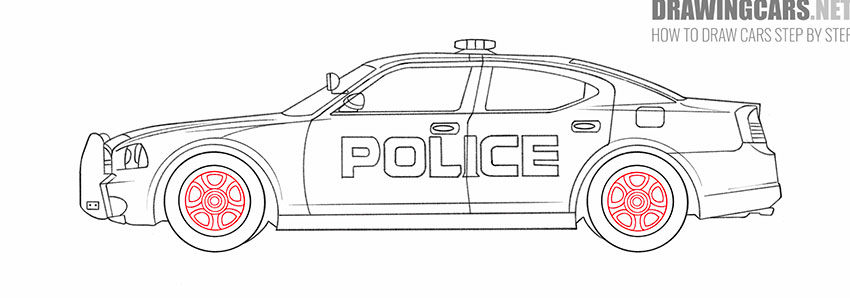
- Finish drawing the wheels of the car.
Inside the previously drawn circles, add a few more circles of different diameters, as well as many identical shapes, as shown in the figure.
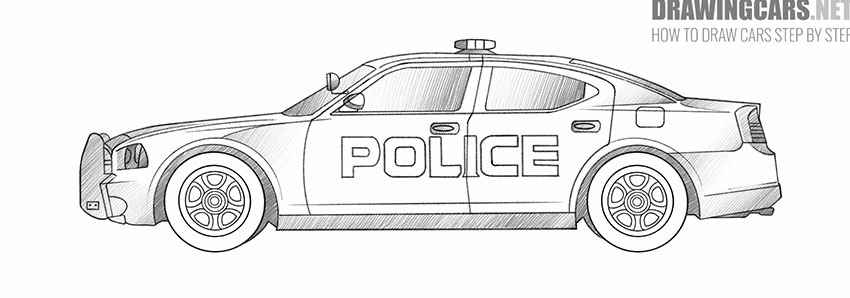
- Add the hatching.
At the last stage of drawing, add short dashed lines in order to indicate the dark areas and raised elements on the body of the car.


Easier Drawing Techniques
We’ve also created a fairly simple version of our drawing tutorial for beginning artists. To do this, we ditched the intricate details and shading while maintaining all the basic features of a cool police car look.
How to Draw a Police Car for Beginners
As with other car drawing simplifications, this drawing guide is free of shadows, highlights and some detailed areas. For example, car door handles look much simpler here.

Conclusion
That was the end of this simple drawing lesson, with which you learned how to draw a police car step by step. We also recommend that you look at other drawing lessons on our website, with the help of which you will learn how to draw various drawings of an automotive theme, as well as practice drawing various geometric shapes. We will be happy to read your comments to see if you succeeded in completing this drawing lesson. Furthermore, we will also be happy to take into account your wishes for new drawing lessons.
Leave a Reply