
In this drawing lesson we will tell you how to draw a truck step by step. This guide will definitely help you.

So, we are glad to bring to your attention this useful and fascinating drawing lesson in which you will learn how to draw a truck step by step. Each of you has probably seen cars of this type, and now you can learn how to draw it yourself.
To complete this drawing lesson, you need to be able to draw straight lines, circles, and also apply hatching. If you want your drawing to look nicer and neater, you can use a ruler and a compass when necessary.
By learning how to draw a truck with the help of this instruction, you can depict it as the main object of your drawing or add a road, draw some other types of cars near the truck, and also show your imagination and create many other different drawings.
Time needed: 45 minutes
How to Draw a Truck
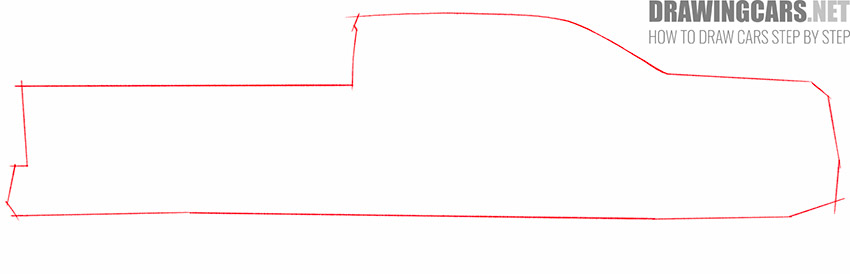
- Mark out to outline the truck.
To indicate the outline and location of the main body of the truck, you should use straight lines of various lengths and curved lines at the top of the truck.
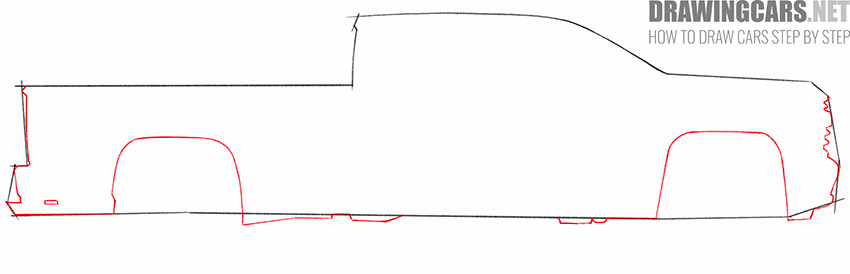
- Refine the contour of the front and rear of the truck and add arches.
At the front and back of the truck, add wavy and curved lines, draw some curved and straight lines at the bottom of the truck.
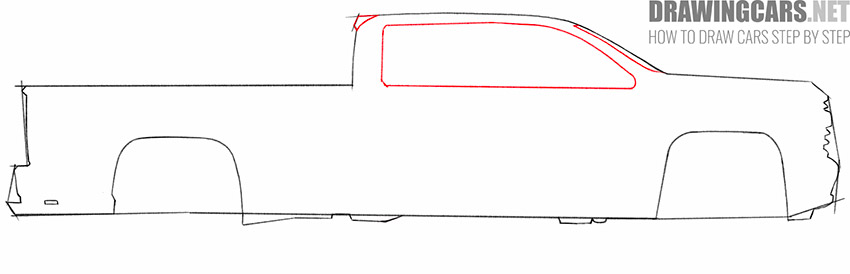
- Draw the outlines of the truck windows and the element on the roof.
At the top of the previously drawn outline of the truck, add straight and curved lines of varying lengths as shown.
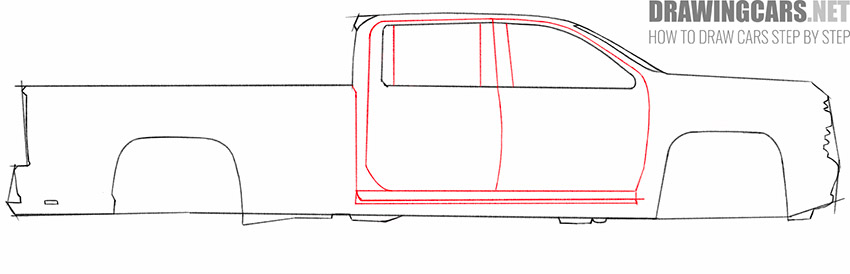
- Add outlines for the doors and sill of the truck.
Depict straight and curved lines around the previously drawn windows of the truck, and add straight lines at the bottom of the truck.
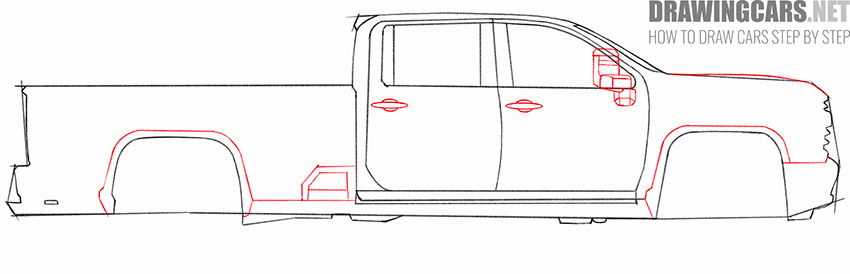
- Depict the door handles, side mirror and other elements.
Draw arcs, elongated ovals, and straight and curved lines near the arches, sills, and at the top of the truck’s bumper.
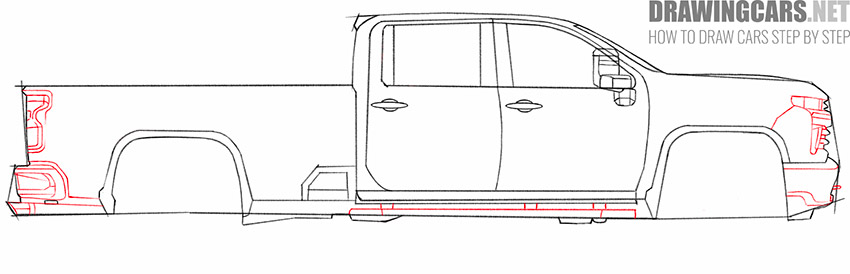
- Sketch out headlights, elements in the front of the car, and complete the threshold drawing.
Now you need to add many curved lines of different lengths to the front and back of the truck, as well as draw straight lines at the bottom of the car.
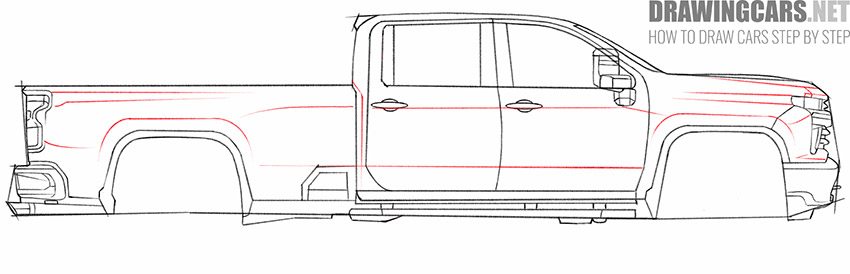
- Draw raised areas on the surface of the truck and erase the extra lines.
Depict a lot of thin straight lines and a few slightly rounded lines on the surface of the truck, and remove unnecessary lines with the eraser.
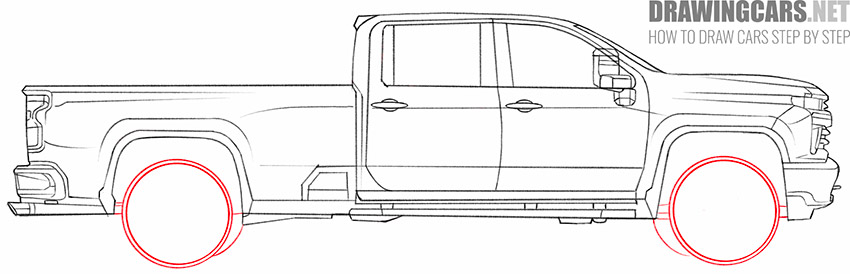
- Start drawing the wheels.
At the bottom of the truck you have drawn, add circles of different diameters, as well as a few straight lines and two arcs near them.
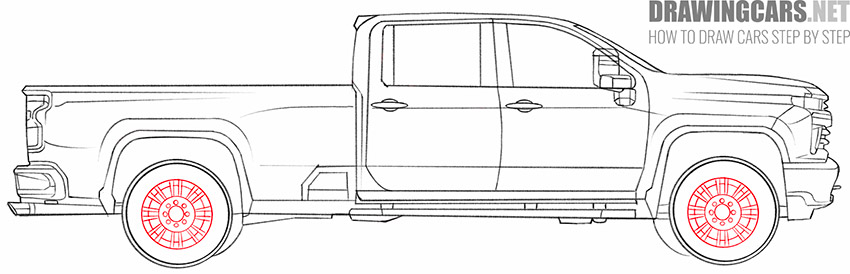
- Finish drawing the wheels of the truck.
Inside the previously drawn outlines of the wheels, add a few more circles of different diameters, as well as straight lines of the same length.
- Make your drawing more realistic.
In order to make the truck you have drawn look more realistic and voluminous, you should add hatching in the shadow areas.


This is the end of this simple drawing lesson, with the help of which you learned how to draw a truck step by step. We also recommend that you look at other drawing lessons on our website, with the help of which you will learn how to draw various drawings of an automotive theme, as well as practice drawing various geometric shapes.
Leave a Reply