
Now you learn how to draw a Mercedes-Benz. If you are a fan of cars of this type, then this lesson will definitely not leave you indifferent.

So, we have prepared for you a wonderful and very useful drawing lesson with which you can practice your artistic skills, as well as learn how to draw a Mercedes-Benz step by step. In this lesson, you will practice drawing straight lines as well as circles.
Any novice artist will surely be able to easily cope with the implementation of this instruction, since it does not contain elements that are too difficult to complete. You can use a ruler and compass when needed if you want your drawing to look neater.
Right now, we recommend that you prepare all the necessary art supplies, and then carefully and slowly follow these steps and enjoy the creative process. We are confident that you will be pleased with the result of your work.
Time needed: 45 minutes
How to Draw a Mercedes-Benz
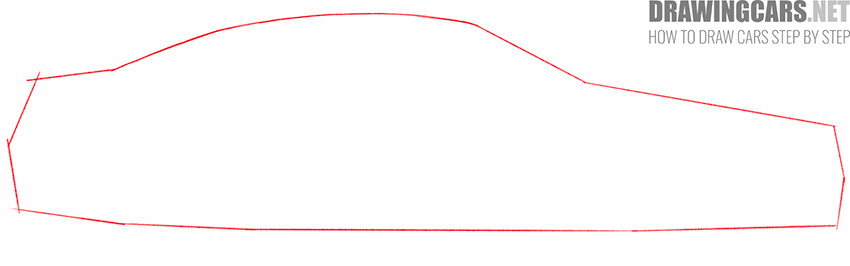
- Mark the approximate outline of the Mercedes-Benz.
In order to indicate the approximate shape and dimensions of the Mercedes-Benz, you should use straight and curved lines of different lengths, as shown in the picture.
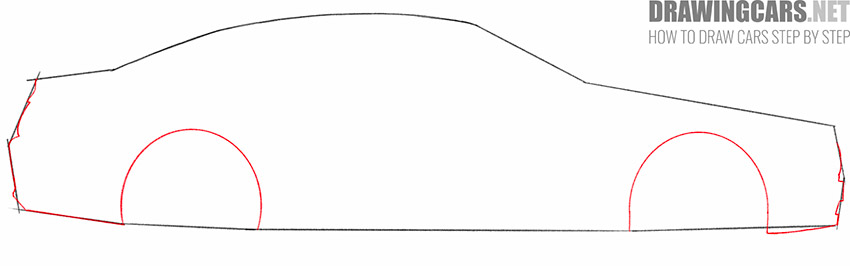
- Draw the clear outline of the front and back parts and add the outlines of the arches.
Depict the front and rear parts of the Mercedes-Benz using curved lines of different lengths, and also add two symmetrical arcs at the bottom of the outline.
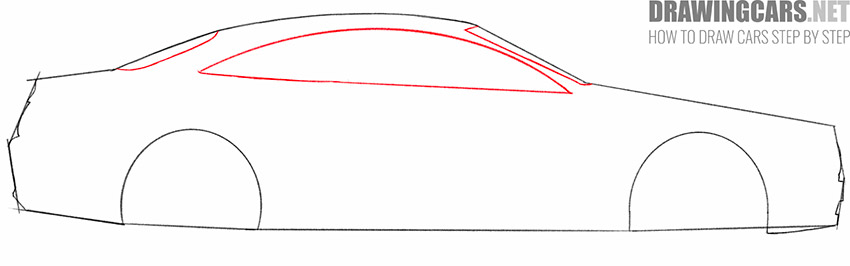
- Add the window outlines.
At the top of the shape you have drawn, draw several straight and curved lines of varying lengths, as well as a large arc, as shown in the figure.
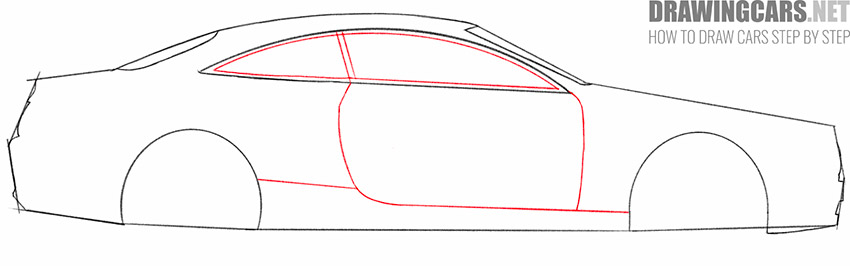
- Finish drawing the windows and add the car doors.
Inside the previously drawn window outline, add straight lines and an arc, and add two curved and one straight line below the window outline.
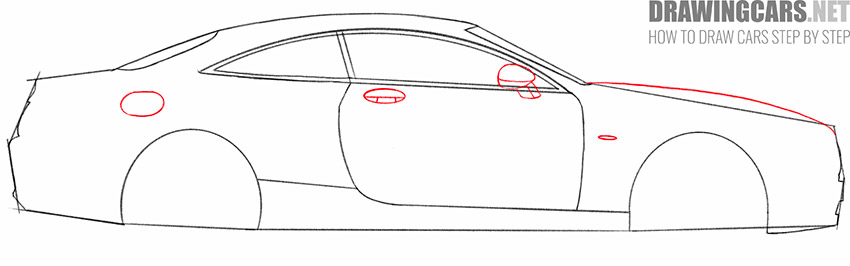
- Depict the outline of the bumper, door handle, side mirror and other elements.
Now you should use curved lines of different lengths, as well as some ovals to add these necessary elements to the drawing.
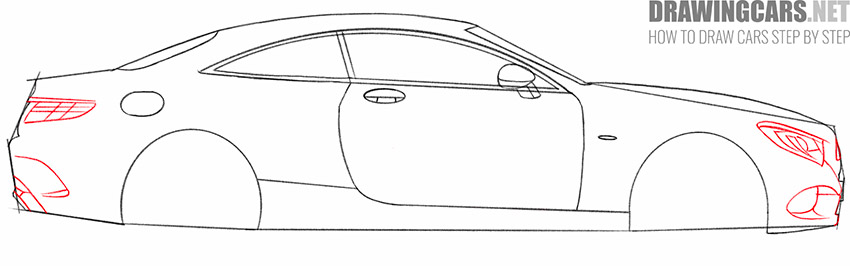
- Add the headlights and other elements to the front and back of the car.
On the right and left side of the drawn outline of the car, add the headlights, as well as the elements below them, using many straight and curved lines of different lengths.
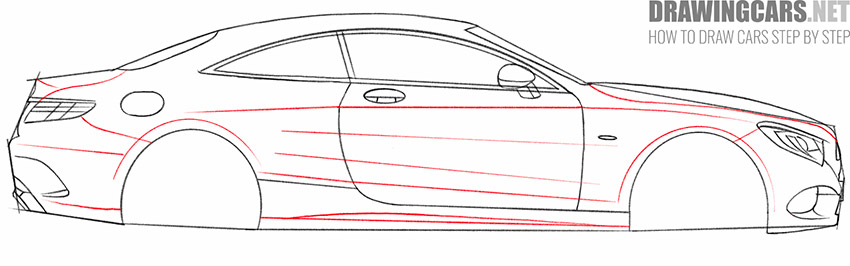
- Draw raised spots on the surface and add the threshold.
Depict a lot of thin straight lines and slightly curved lines on the surface of the machine to make your drawing look more voluminous.
- Start drawing the wheels and remove the extra lines.
Below the previously drawn arches of the car, you should add circles of different diameters and short lines on the sides of them, and also erase unnecessary lines with the eraser.
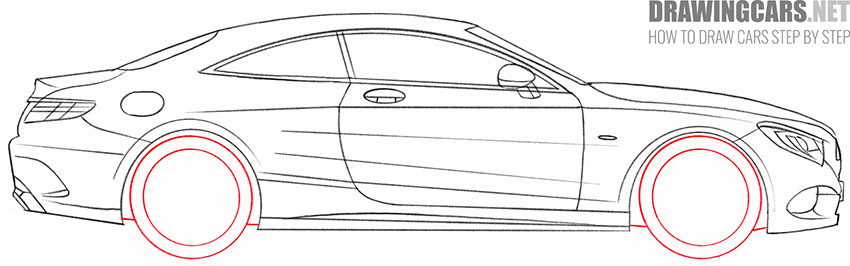
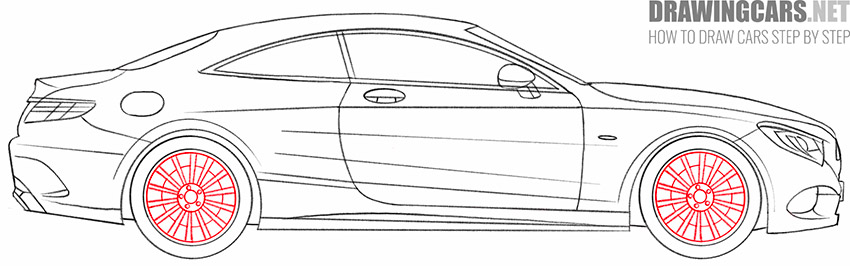
- Finish drawing the Mercedes-Benz wheels.
Inside the previously drawn outlines of the wheels, add a few more circles of different diameters, as well as straight lines of the same length.
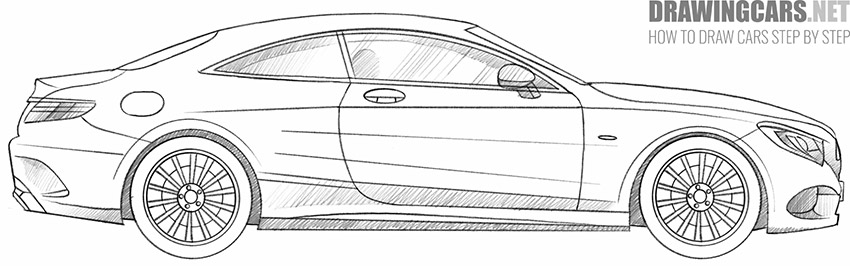
- Add the hatching.
Now you can add subtle shading to the surface of the car to define areas of shadow and make the drawing more realistic.


This is the end of this simple drawing lesson with which you have learned how to draw a Mercedes-Benz step by step. We also recommend that you look at other drawing lessons on our website, with the help of which you will learn how to draw various drawings of an automotive theme, as well as practice drawing various geometric shapes.
Leave a Reply