
Now we will show you how to draw a moped for kids. If you complete this lesson, you will train your creative abilities.

We are glad that you are interested in the drawing lessons presented on this site, and we want to offer you a clear and accessible instruction on how to draw a moped for kids.
The moped is a light, pedal-powered motorcycle. In other words, it is a bicycle with a motor. It is a light and maneuverable vehicle. This lesson includes only seven steps, following which you can easily learn how to draw this popular vehicle.
In the process of work, try to draw the same lines as shown in the example and observe all proportions so that in the end you get a great drawing. Take your art supplies and start carefully following all the steps in this instruction, and we wish you creative success.
Time needed: 45 minutes
How to Draw a Moped for Kids
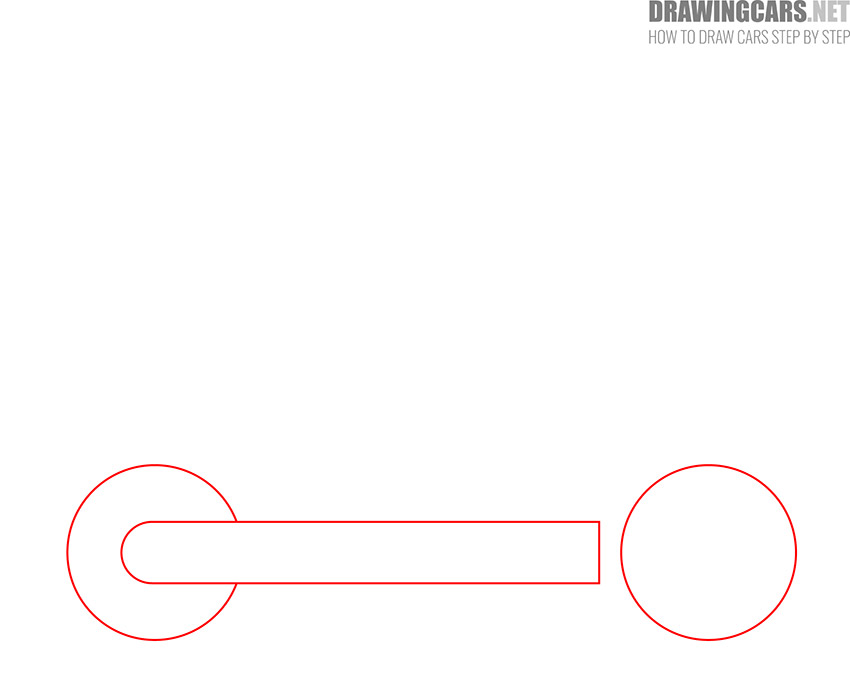
- Draw the bottom platform and outline the wheels.
First draw an elongated platform with one end rounded and the other end completely flat and straight. Then add two circles of the same size.
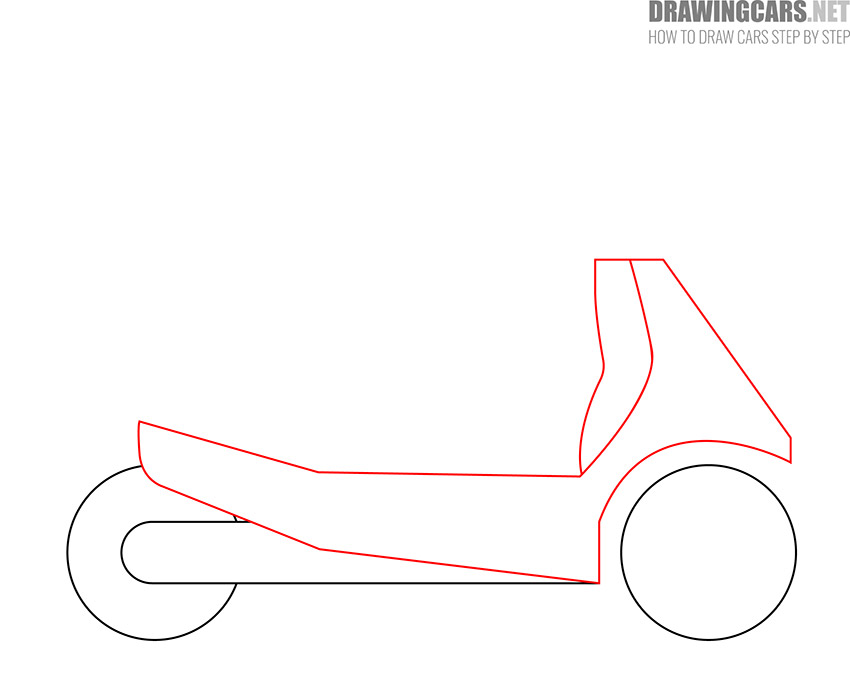
- Depict the body of a moped.
This step will require a lot of attention from you, as you will need to correctly depict the shape of the hull using straight and curved lines. Take your time and carefully draw the bottom and front of the case.
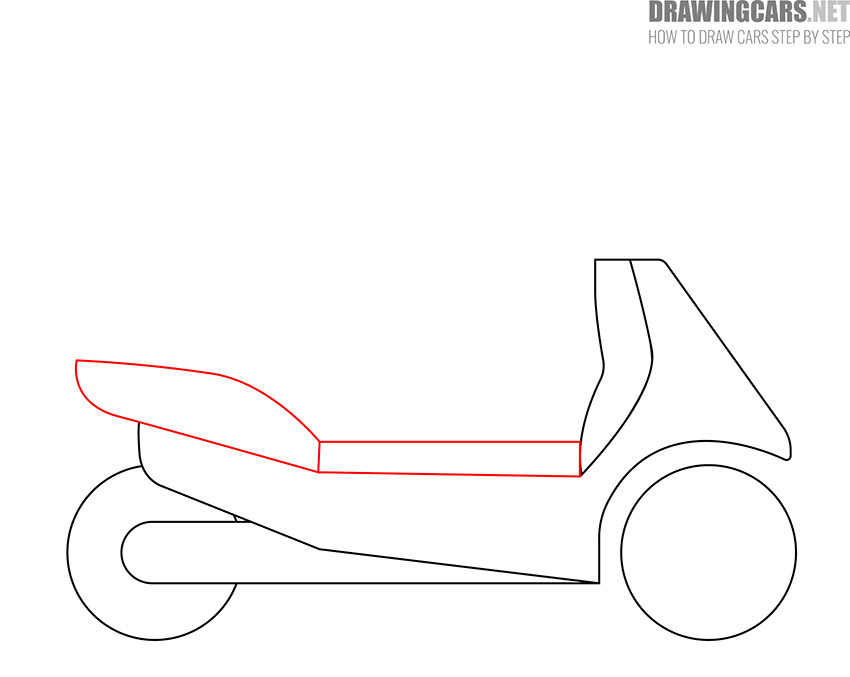
- Add the upper case.
The upper part of the body consists of two elements. One element has the shape of an elongated rectangle and the second element has a curved elongated curved shape.
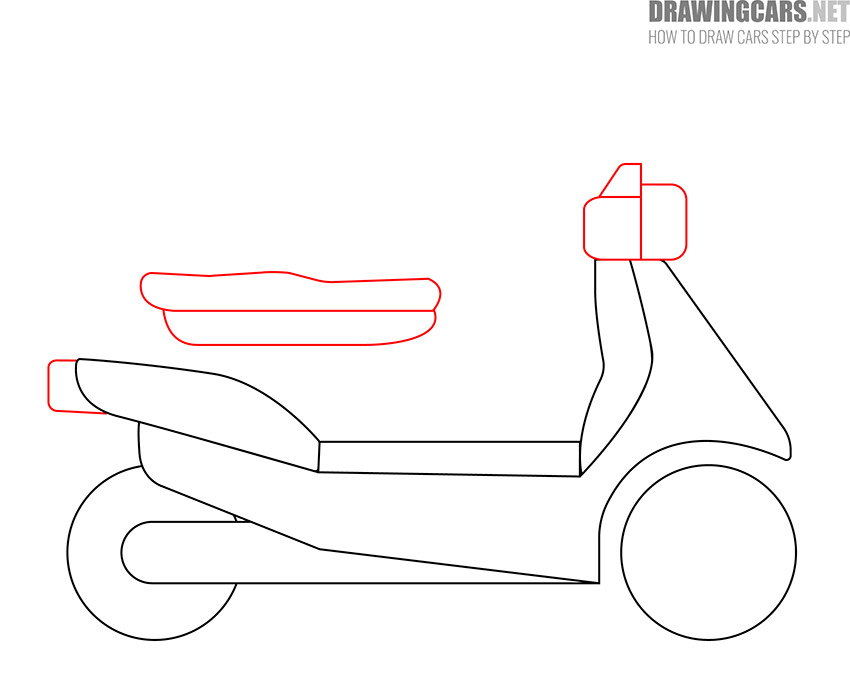
- Sketch out the seat, steering wheel and detail on the back of the body.
The steering wheel of the moped consists of three elements, interconnected. The seat consists of two elongated elements. At the back of the case, add a small protruding element.
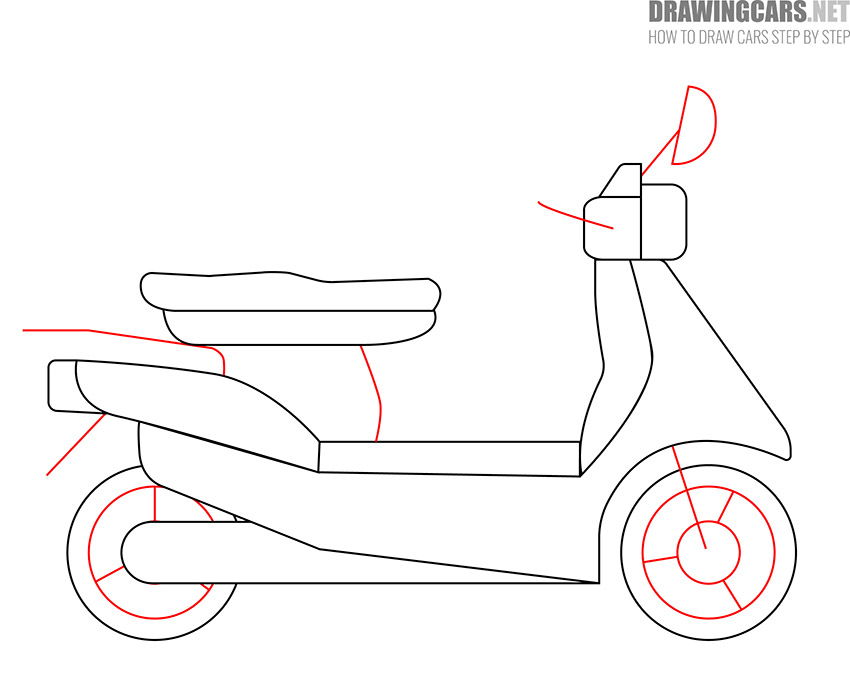
- Draw the inside of the wheels and add the rest of the elements.
Inside each wheel, add a circle and draw small, straight lines from it. Add details on the steering wheel and near the moped seat.
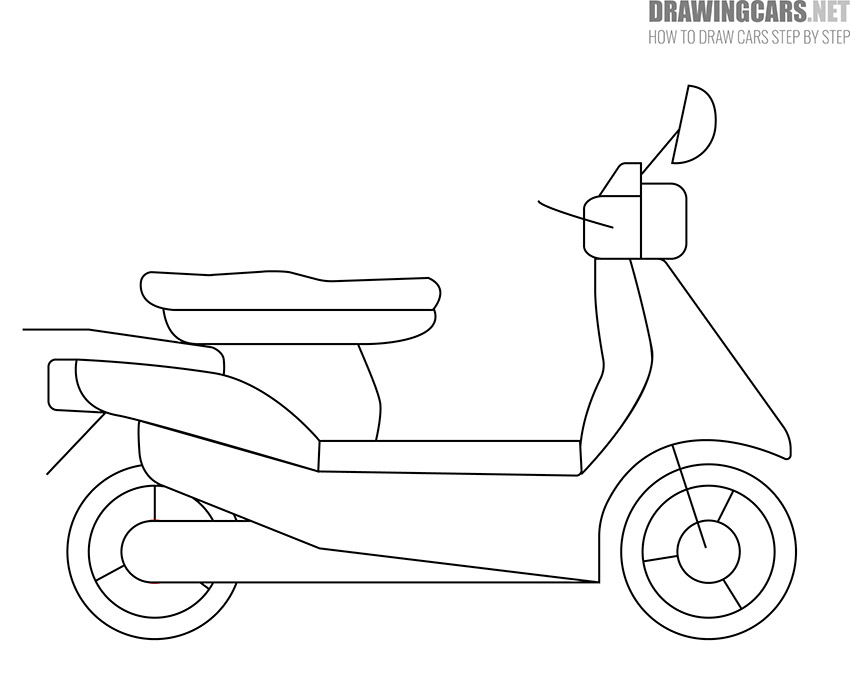
- Correct inaccuracies.
Compare your drawing with our example and carefully correct the mistakes if necessary. Prepare your drawing for coloring.
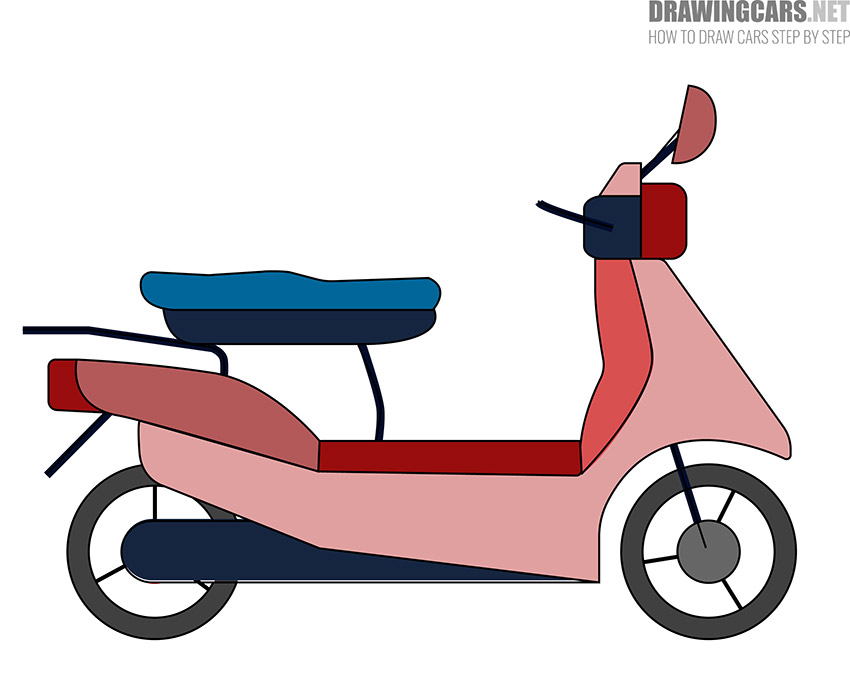
- Color the drawing.
Choose the brightest colors you like. It can be different shades of blue and red. You will also need gray and pink.


Now you have completed all the drawing steps, and can evaluate the result of your work. Did you immediately get a beautiful drawing, or did you encounter any difficulties in the process of drawing? Write about it in the comments. We will be happy to receive feedback from you. You can also suggest your ideas for the following drawings.
Leave a Reply