
In this lesson we will show you how to draw McLaren P1. With the help of this simple instruction, you will quickly draw this vehicle.

How to Draw a McLaren P1: Introduction
So, we are happy to offer you this wonderful guide on how to draw a McLaren P1. This lesson will be as clear and fun as the other lessons presented on this site. In this step-by-step guide, we will delve deep into the techniques and skills required to draw a McLaren supercar with precision and finesse.
Drawing a McLaren is more than replicating its iconic silhouette; it’s about understanding the fundamental principles of automotive design. Whether you’re a novice or an experienced artist, this tutorial will equip you with the knowledge and expertise needed to capture the essence of McLaren’s engineering marvels on paper.
We will start with the basics, breaking down the complex curves and angles of the McLaren design into manageable steps. You will learn about proportion, perspective, and shading techniques essential for creating a realistic representation. Detailed instructions and illustrative diagrams will guide you through the process, ensuring a clear understanding of each stage.
So, grab your drawing tools and prepare to embark on a journey of artistic growth and technical mastery. By the end of this tutorial, you will not only have a stunning McLaren drawing to showcase but also a solid foundation in the art of automotive illustration. Let’s begin the process of honing your craft and creating remarkable McLaren artworks.
McLaren P1 Drawing Tutorial
Time needed: 1 hour
How to Draw a McLaren P1
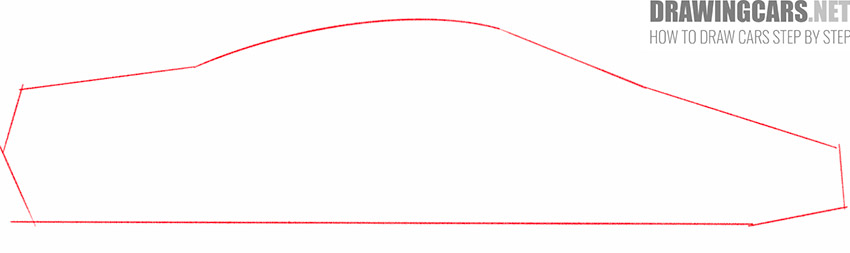
- Sketch the main outline lines of the McLaren P1.
For this step, you can sketch out the main outline of the car slightly casually, using straight and slightly curved lines.
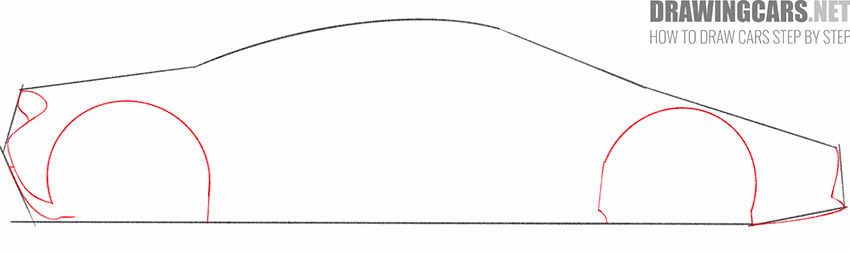
- Draw the front and back of the McLaren P1 and add the arches.
Near the side lines of the previously applied markup, draw curved lines of different lengths, and also add the same arcs at the bottom of the intended contour of the car.
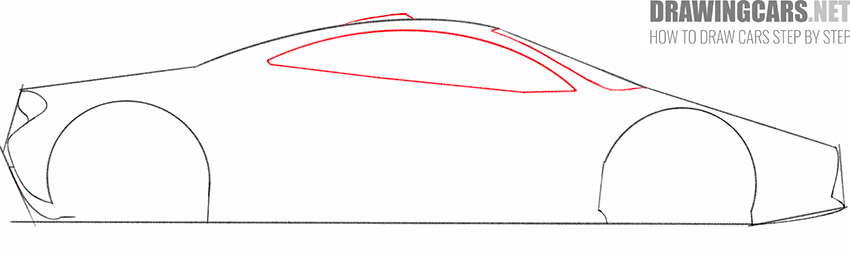
- Depict the windows of the car and the element on the roof.
Add the elongated side window and the visible part of the windshield using smooth curved lines. Using short lines draw a pointed detail on the roof.
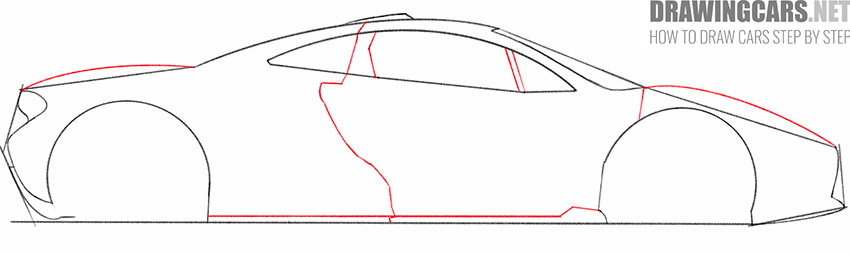
- Sketch out the outlines of the doors, sill, front and rear of the McLaren P1.
Draw straight lines inside the previously drawn side window, add straight and curved lines around it, draw a straight line at the bottom of the car, and arcs at the front and back of the car.
- Add the headlights and car side mirror.
Depict the side mirror using straight and curved lines of different lengths as shown in our reference. In the back and front of the car, draw headlights of different sizes and shapes.
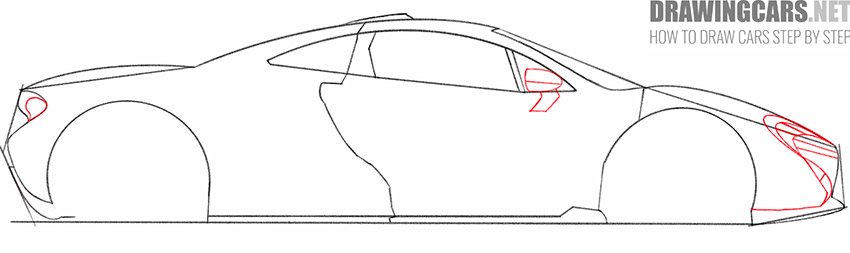
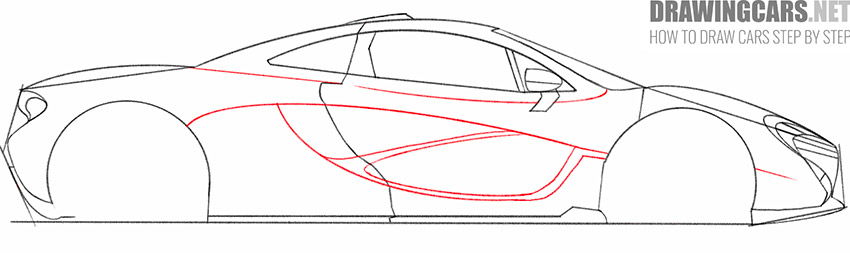
- Sketch out the raised features on the side of the car.
Now you should draw thin, curved lines of different lengths on the side and front of the McLaren P1, as shown in the picture.
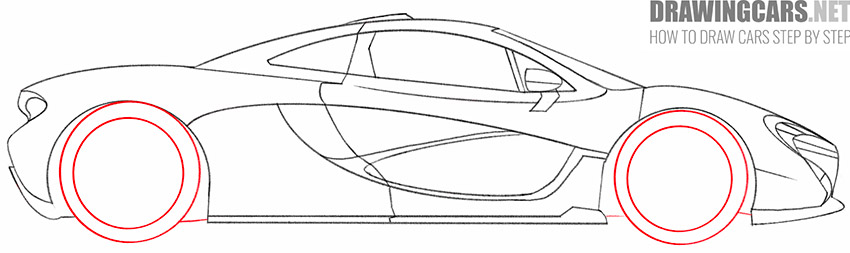
- Add the car wheels and erase extra lines.
Draw two symmetrical wheels using circles of different diameters, add short lines around them, and also erase unnecessary lines with the eraser.
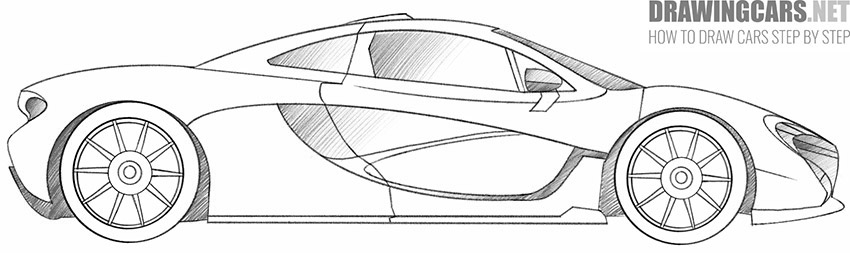
- Finish drawing the wheels of the McLaren P1.
Inside the previously drawn circles, add a few more circles of different diameters, as well as many straight lines of the same length.

- Add the hatching.
At the last stage of drawing, add short dashed lines in order to indicate the dark areas and raised elements on the body of the car.


Conclusion
You have now completed a fascinating lesson on how to draw a McLaren P1. We hope you enjoyed the creative process and gained confidence in your artistic abilities. Draw as often as possible, try to draw different car models, and we will be happy to help you learn useful skills. Share your opinion about this lesson in the comments, we are always interested in reading your feedback.
We encourage artists to explore, experiment, and imbue their unique style into their McLaren drawings. With the right techniques and a touch of creativity, artists can create captivating artworks that capture the essence of speed and sophistication.
So, whether you’re a beginner eager to grasp the basics or an experienced artist looking to refine your skills, our McLaren drawing tutorial is your gateway to a world where art and engineering seamlessly merge. Start your creative engines, pick up your pencils, and let the journey of artistic discovery begin. Happy drawing!
Leave a Reply