
In this lesson we want to show you how to draw a BMW. This manual includes ten steps with a detailed description.

So, we have prepared for you a new exciting drawing lesson in which we will show in detail how to draw a BMW. We hope that this step-by-step guide will not leave you indifferent, and you will be happy to complete this creative task.
BMW is a premium car manufactured by a German company. The individual features of this car express elegance and solidity. The car exudes dynamism thanks to the extended hood, wheelbase and interior, which is slightly shifted back.
We are sure that drawing this stylish car will give you great pleasure. When you master all the drawing steps, you can easily draw any other BMW model. Now check if all the art supplies are at hand and if all the drawing materials are already at the ready, then you can get to work.
Time needed: 45 minutes
How to Draw a BMW
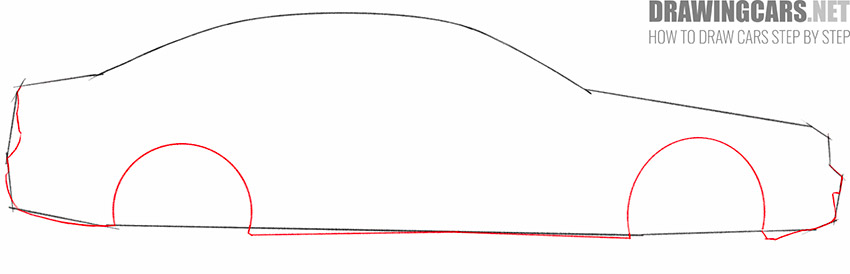
- Draw the main outline.
Determine the size and position of your drawing and use straight and curved lines to draw the outer outline of the same shape as in our example.

- Detail the bottom of the car.
Using curved lines to depict the front and back of the car. Draw two wheel arches with semicircular lines and draw a smooth connecting line between them.
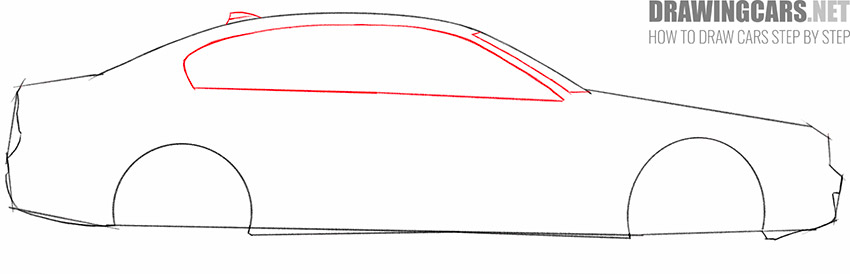
- Add the windows and aerodynamic keel.
Draw the visible part of the front window, draw the side window, which has an elongated shape. On the roof of the car, add the aerodynamic keel in the form of the small fin.
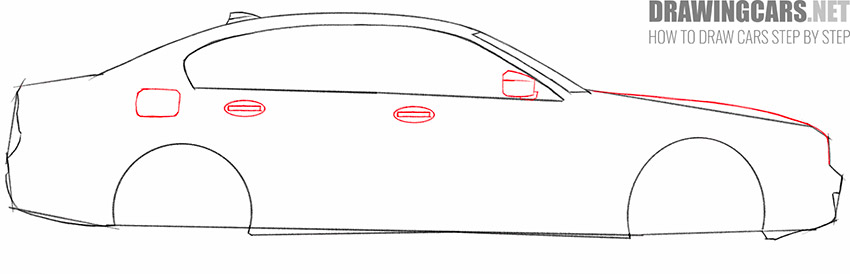
- Detail the hood and add small elements.
Use a smooth line to give the hood the desired shape. Draw the side mirror, two door handles and the gas tank opening.
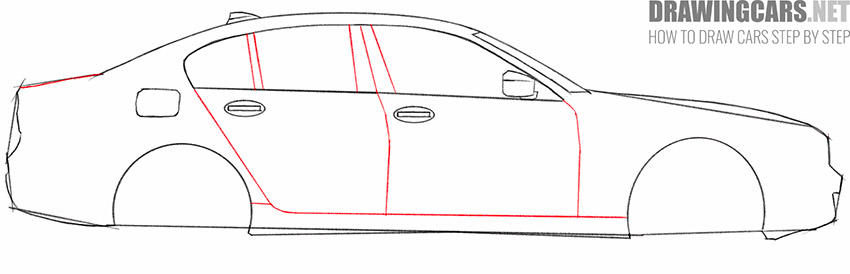
- Depict the doors and detail the window.
With the help of smooth lines depict the front and back doors, which have different shapes. On the window, draw a few transverse lines to represent the individual sections of the window.
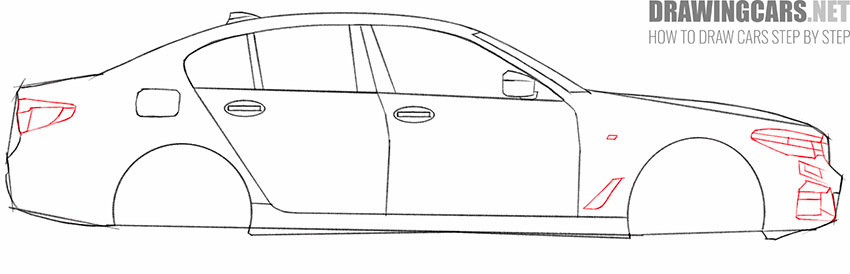
- Sketch out the headlights.
The headlights have a complex shape and consist of several elements of different shapes. Look closely at the sample and try to correctly depict the shape of the front and rear lights.
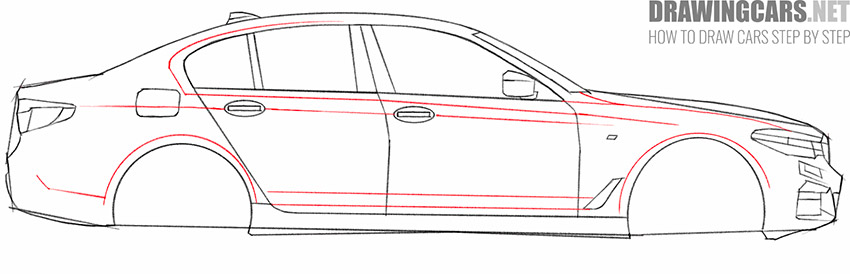
- Detail the body of the car.
Depict some straight and curved lines in order to mark the relief on the body of the car and give the drawing a more realistic look.
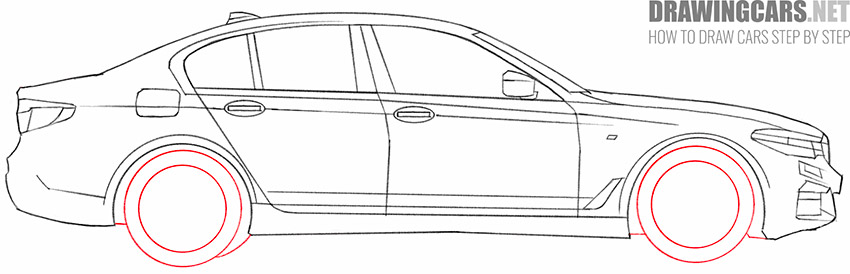
- Draw the wheels.
Depict many even circles to depict the inner and outer outline of the wheels. Add connecting lines from the wheels to the body of the car.
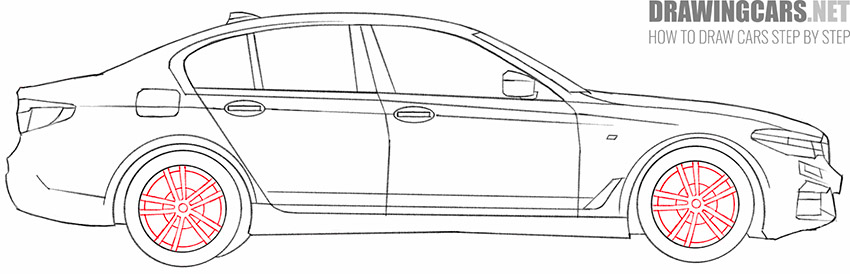
- Depict the rims.
Draw a small circle in the center of each wheel and then draw straight lines along the outer outline to represent the curly elements on the rims.
- Finish the drawing.
At the last stage of drawing, add the small neat hatching in order to highlight the dark areas and bulging parts on the body of the car.


You have now completed an exciting lesson on how to draw a BMW. We hope you enjoyed the creative process and gained confidence in your artistic abilities. Draw as often as possible, try to draw different car models, and we will be happy to help you learn useful skills. Share your opinion about this lesson in the comments, we are always interested in reading your feedback.
Leave a Reply