
In this lesson you will learn how to draw a car from the back. If you follow all the steps in this tutorial, you will acquire useful skills.

We are glad that you are interested in our drawing lessons and strive to improve your artistic abilities and in this lesson you will learn how to draw a car from the back. Sometimes it becomes necessary to depict the car in this perspective. For example, if you want to depict a section of the road and cars moving on it, then you must be able to depict cars not only from the side, but also from the back.
In this picture you see a modern car model. From this angle, you can fully examine the rear of the car, determine the width and height of its body and the shape of the trunk. During this tutorial, try to keep all proportions and make sure that both parts of the car are completely symmetrical.
This will be a great training for you and in the future you will easily be able to draw more complex symmetrical objects. As usual, you will start drawing by building baselines and gradually add details. The last step is to add hatching.
Time needed: 1 hour
How to Draw a Car from Back
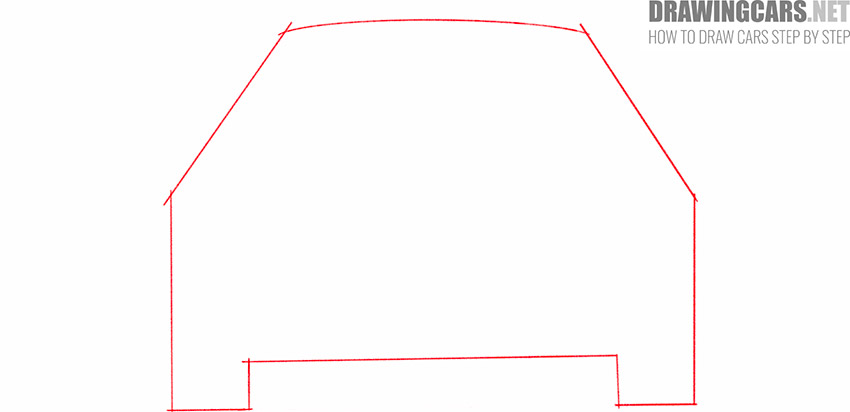
- Draw the base.
Using thin lines, draw the outer contour of the car, the upper part of which is in the shape of a trapezoid, and the lower part consists of straight lines and has two ledges where the wheels will be located.
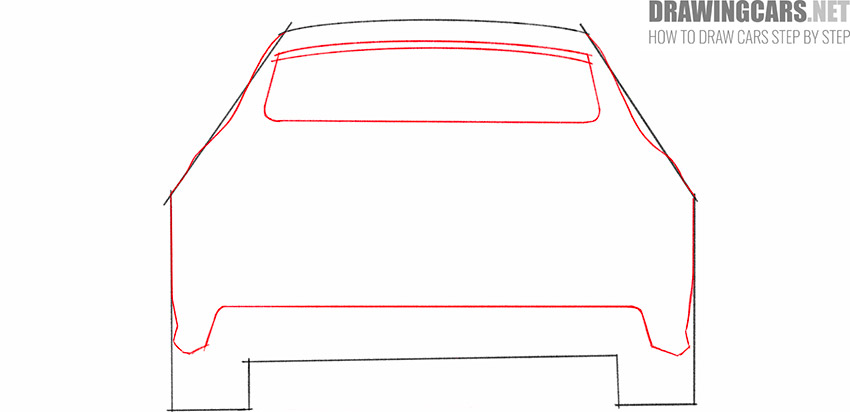
- Start shaping the car and add the window.
With the help of several smooth lines depict the top and bottom outline of the car. Draw the wide rear window.
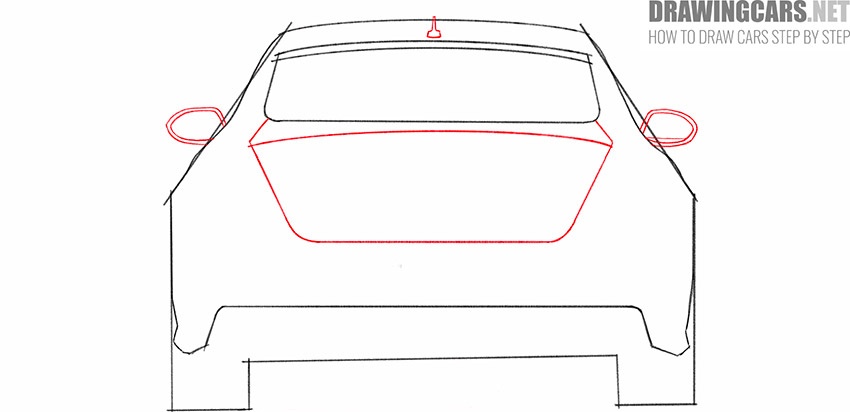
- Depict the side lights, trunk and “fin”.
With the help of smooth lines draw two side mirrors that have an outer and an inner outline. Add the small “fin” on the roof of the car and draw the outline of the trunk.
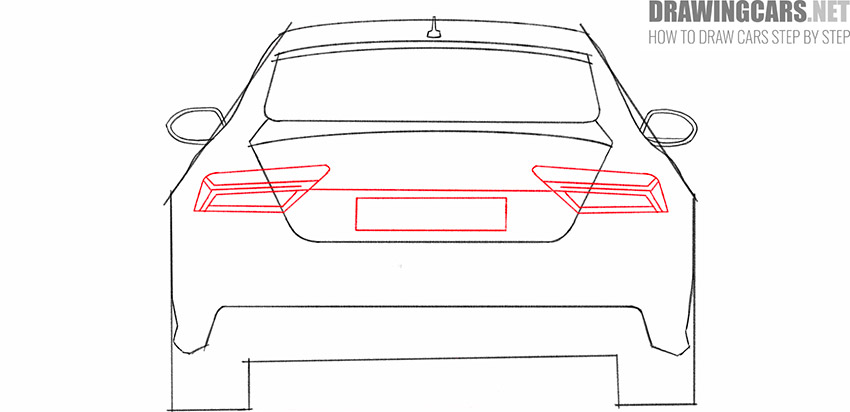
- Draw the rear lights and identification plate.
With the help of several lines of different shapes, depict the taillights, while maintaining symmetry. In the middle, draw an identification plate in the form of an elongated rectangle.
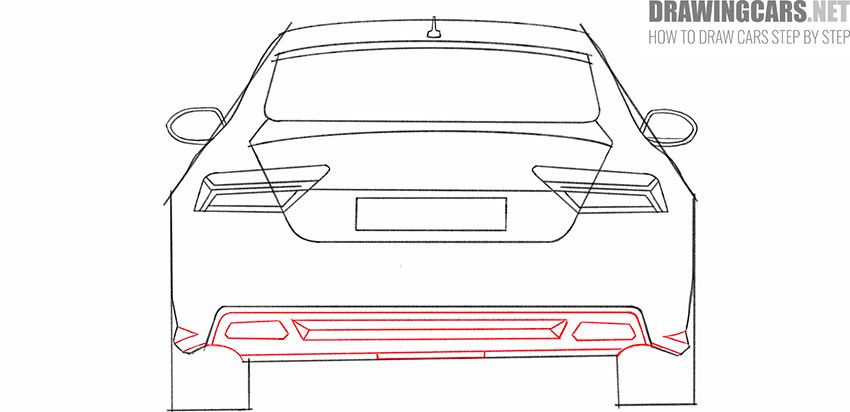
- Sketch out the bottom of the car.
With the help of straight curved lines depict several structural elements at the bottom of the car, as shown in our example.
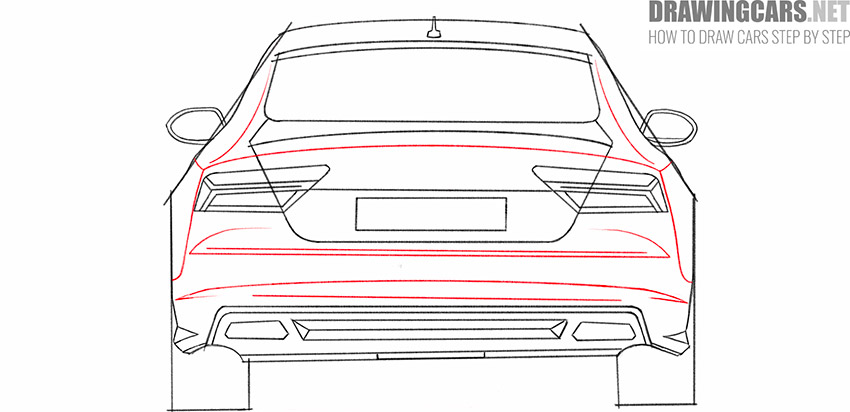
- Detail the body of the car.
In this step you will draw the bulging parts on the body of the car, thus you can give the drawing a more realistic look. Draw smooth lines, while maintaining symmetry.
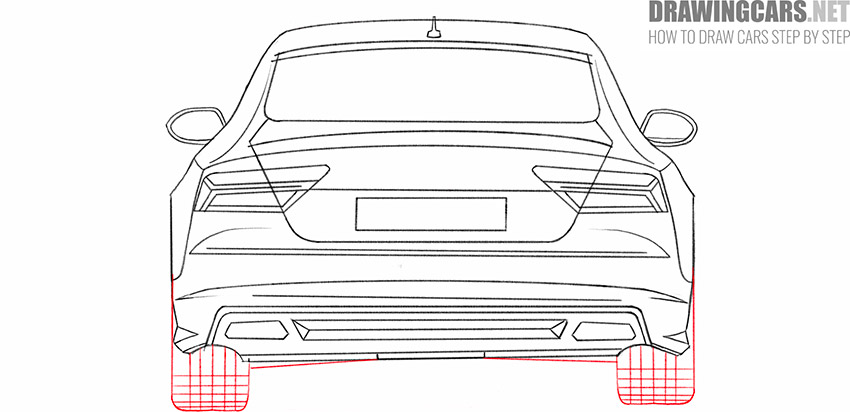
- Draw the wheels.
With the help of clear lines draw the outer contour of the wheels and add the inside with the help of vertical and horizontal lines.
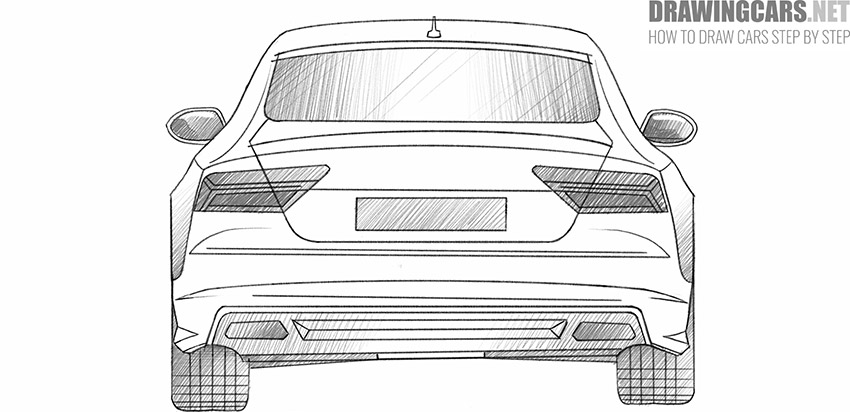
- Add the hatching.
Now you have come to the final stage of drawing. With the help of thin dashed lines, mark the dark areas and highlight the volumetric elements on the car body.


So the fascinating lesson on how to draw a car from the back has come to an end. If you have memorized all the drawing steps, then easily draw such a view of the car if necessary. We recommend that you complete other lessons presented on this site and learn how to draw a car from other angles. Practice as often as possible and improve your artistic abilities. We would be interested to know your opinion about this tutorial, so we will ask you to leave a little feedback in the comments. We will be glad to receive feedback from you.
Leave a Reply