
Now you will learn how to draw a tractor for kids. This guide is designed specifically for beginner artists.

We decided to devote this lesson to drawing special equipment, and now we will show you how to draw a tractor for kids. The lesson includes only seven steps, each of which is visualized and supplemented with a small hint for your convenience.
The tractor is a large machine that performs agricultural, road construction, earth moving, transport and other work. In this lesson you will draw a simple tractor on wheels. To successfully complete this lesson, you will need your ability to draw simple geometric shapes. We tried to make this tutorial as simple and clear as possible, so that after completing it you will be satisfied with the result and get a pleasant experience.
Now grab all the supplies you need to complete this tutorial and enjoy the creative process.
Time needed: 45 minutes
How to Draw a Tractor for Kids
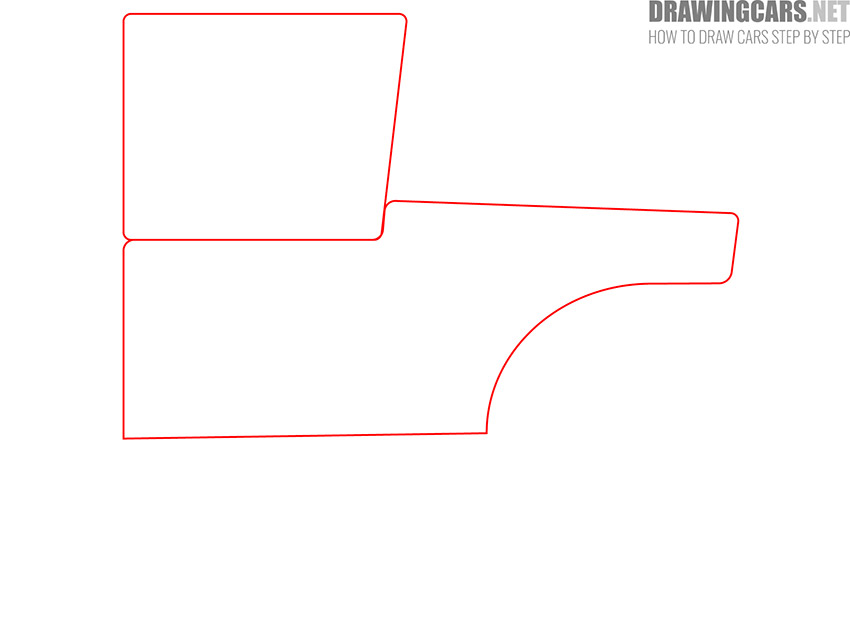
- Draw the driver’s cab and the main body.
Start your work by drawing the largest elements. Draw the driver’s cab in the shape of a quadrilateral and add the body where the working equipment is located.
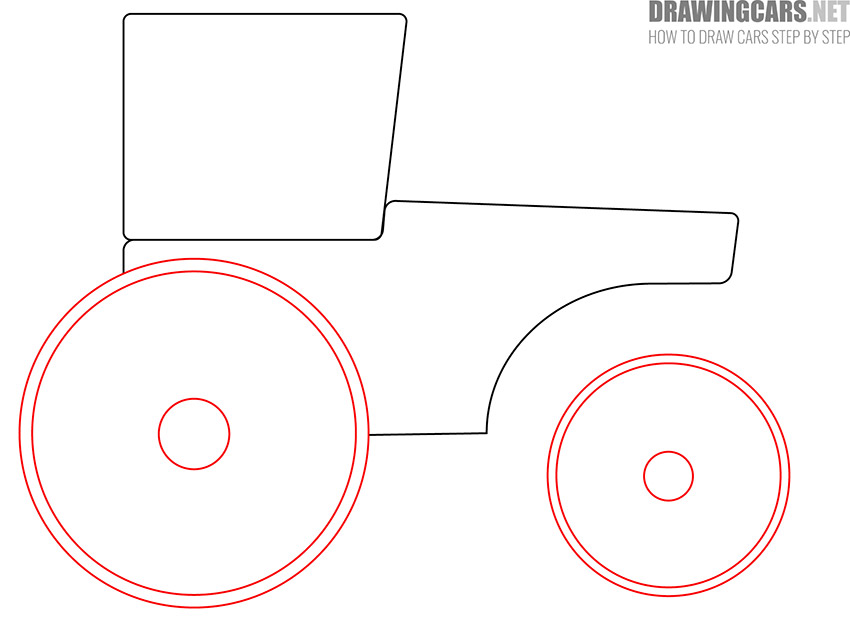
- Depict the wheels.
Wheels are the same or different sizes. In this case, you have to depict wheels of different sizes using several even circles.
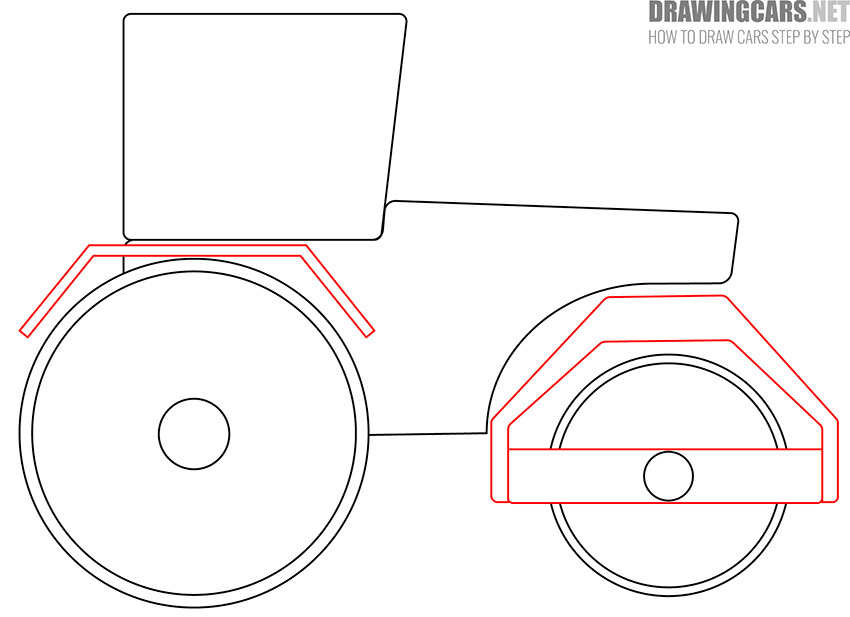
- Add the elements of the tractor running gear.
Continue drawing the parts of the tractor that are involved in the movement and with the help of straight lines draw several elements of different shapes that are located near the wheels.
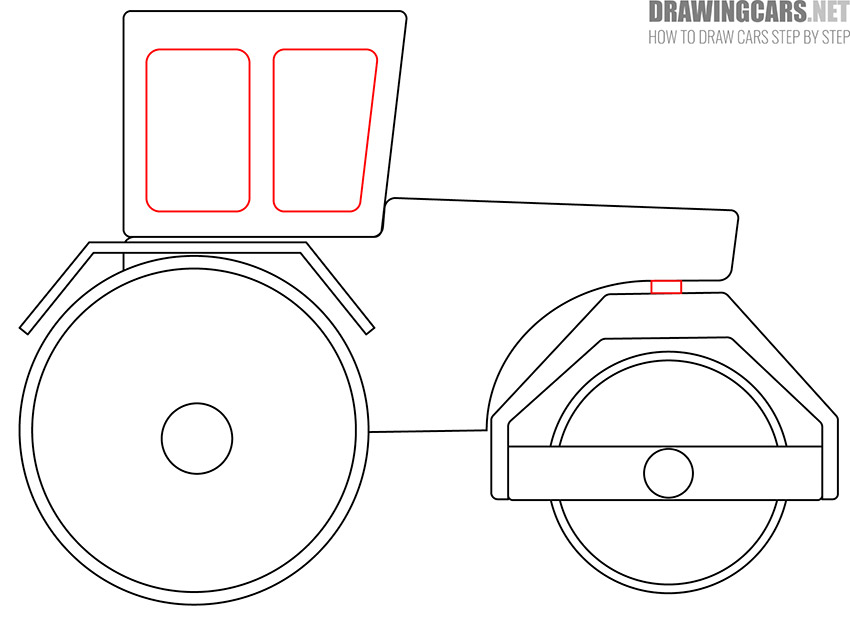
- Sketch out the windows.
Draw two windows on the driver’s cab, one of which has the shape of a rectangle with rounded corners, and the other has the shape of an irregular quadrangle.
- Draw the rest of the elements.
Add the thin strip on the top of the driver’s cab and draw some rectangles and some smooth straight lines on the body.
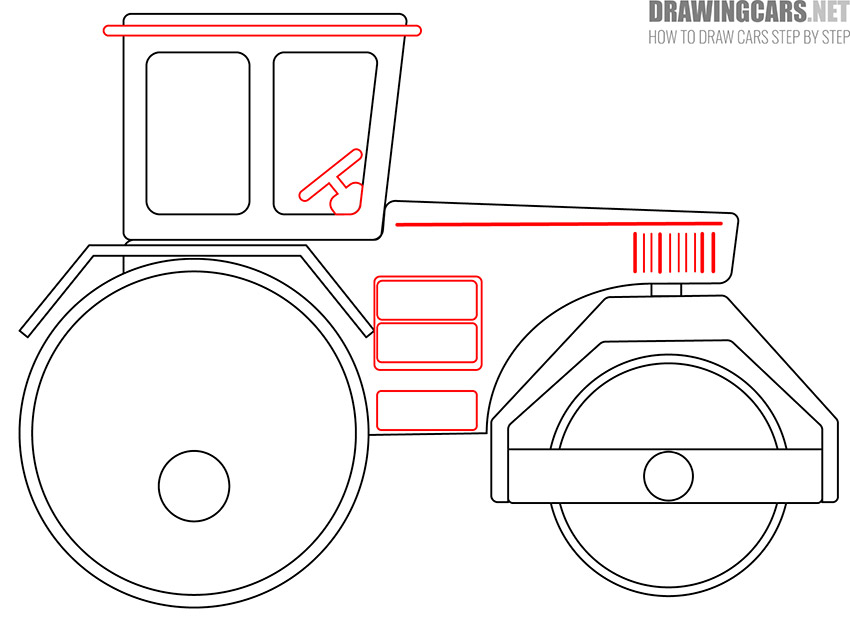
- Correct inaccuracies.
Take a close look at your drawing and if you notice any mistakes, then carefully correct them at this stage, so you will prepare your drawing for coloring.
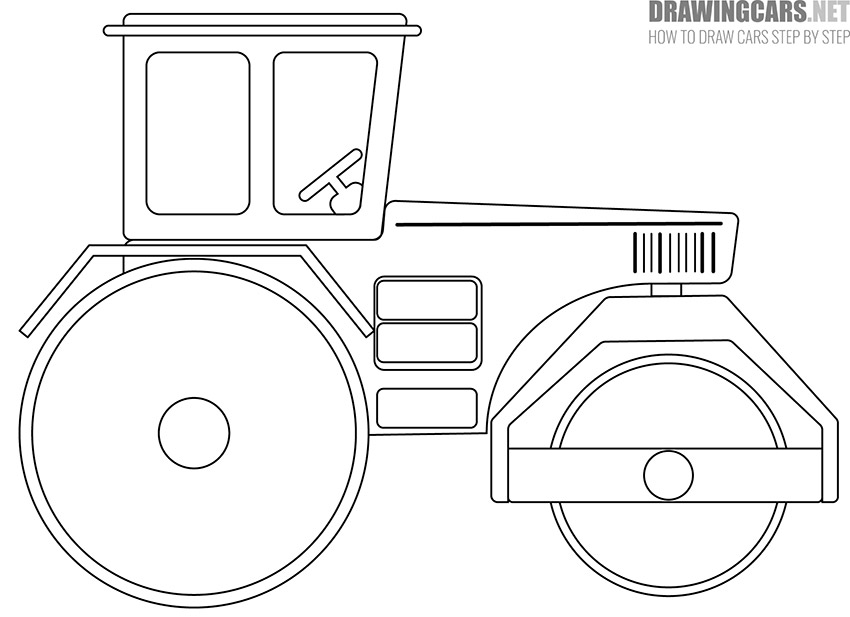
- Color the drawing.
We recommend that you use bright red as well as several shades of gray to paint different parts of the tractor.
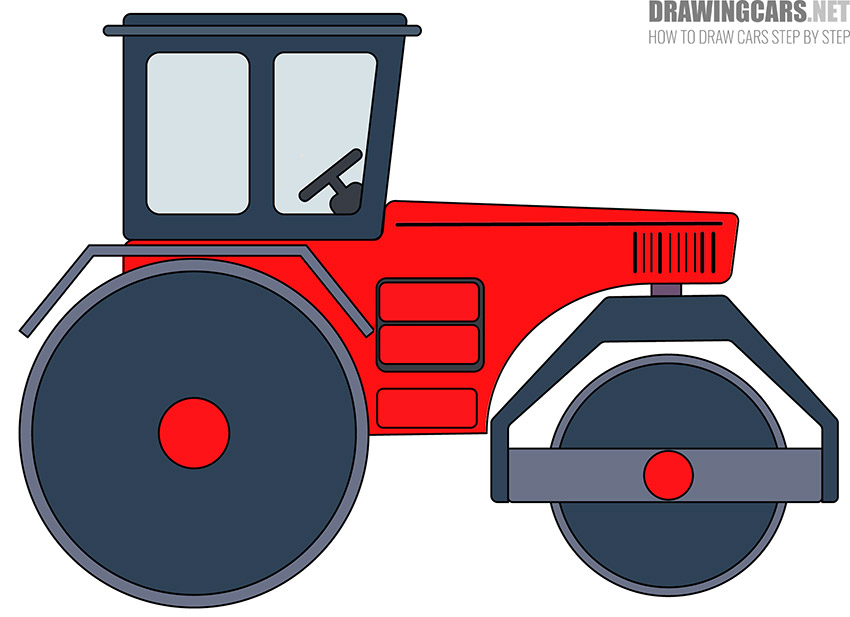


The tractor is ready! Now you have learned how to draw this versatile vehicle. We hope that you correctly completed all the steps of drawing, and you like the result of the work. We would love to read your feedback on this simple step-by-step guide.
Leave a Reply