
In this tutorial, you will learn how to draw a small car for kids. If you follow all the steps in this guide, you will gain useful skills.

We invite you to complete a new lesson that you will definitely enjoy, and now you will learn how to draw a small car for kids. You can easily cope with this creative task if you have drawn any car models before, but even if you are a beginner, you will still get an excellent result, since the instructions are very clear and accessible.
This figure shows a two-door passenger car, which has an elongated body and a spacious luggage compartment. This small car is perfect for city trips.
Check if you have all the art supplies at hand and if everything is ready, then you can start the lesson.
Time needed: 45 minutes
How to Draw a Small Car for Kids
- Determine the size and location of the drawing.
Before drawing, mark the boundaries of the future drawing. To do this, draw an elongated rectangle using thin, straight lines.
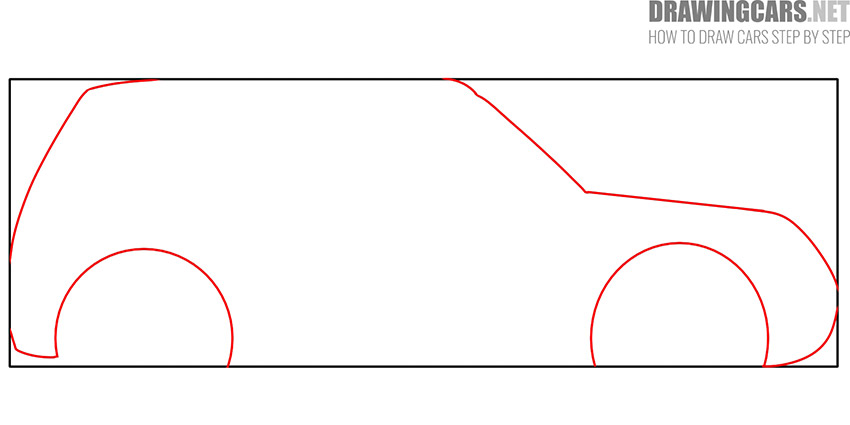
- Draw the outline of the car.
Now draw the front and back of the car. At the bottom, add two wheel arches using semicircular lines.
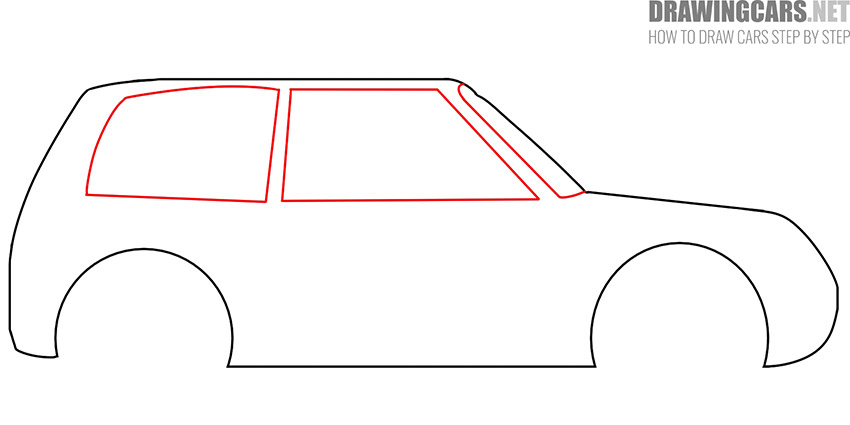
- Depict the windows.
Draw the visible part of the front window, then draw the side window as an irregular polygon and draw another window using straight and curved lines.
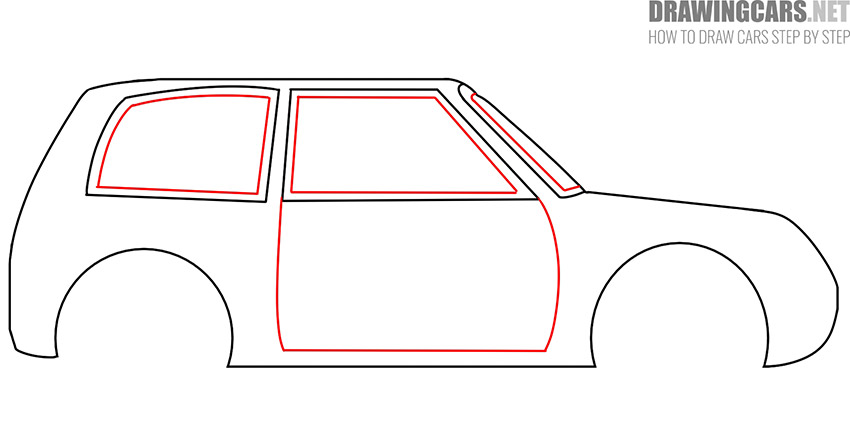
- Add the door and add the outline on the windows.
With the help of smooth lines depict the door and on each window add an inner outline with the help of several lines.
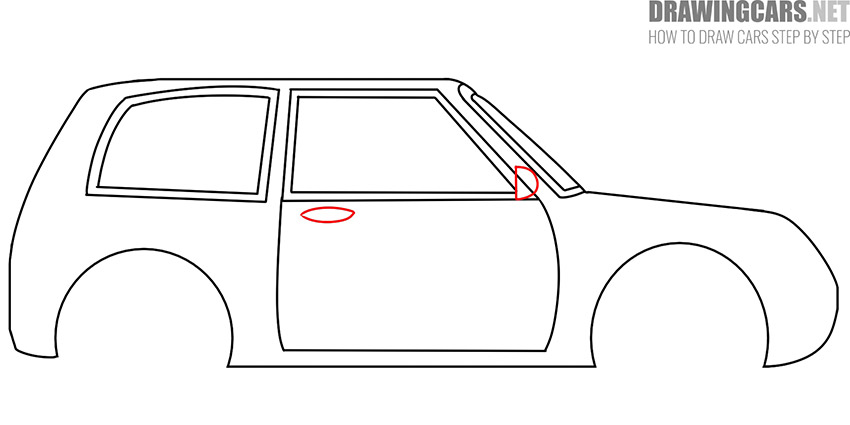
- Sketch out the side mirror and door handle.
This is a simple step in which you only have to draw two small elements. Draw the side mirror in the form of a semicircle, and draw the doorknob in the form of an ellipse with pointed ends.
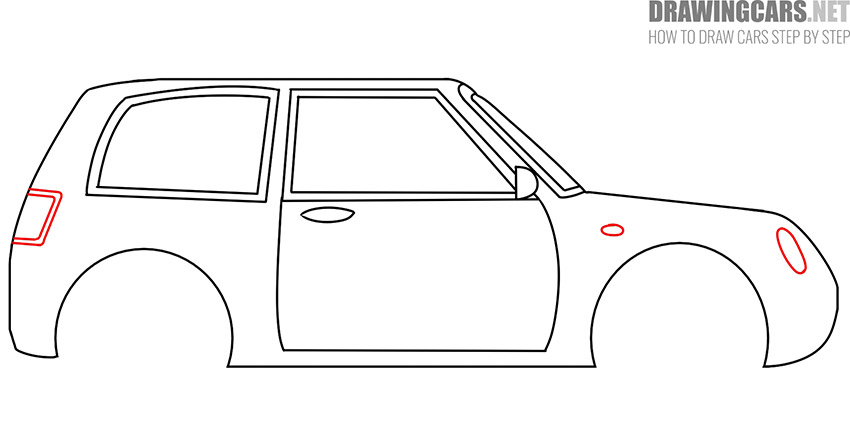
- Depict the rest of the small elements.
In this step, you have to draw the headlight, which is shaped like an oval. The taillight has a rectangular shape. Draw another small oval on the body of the car.
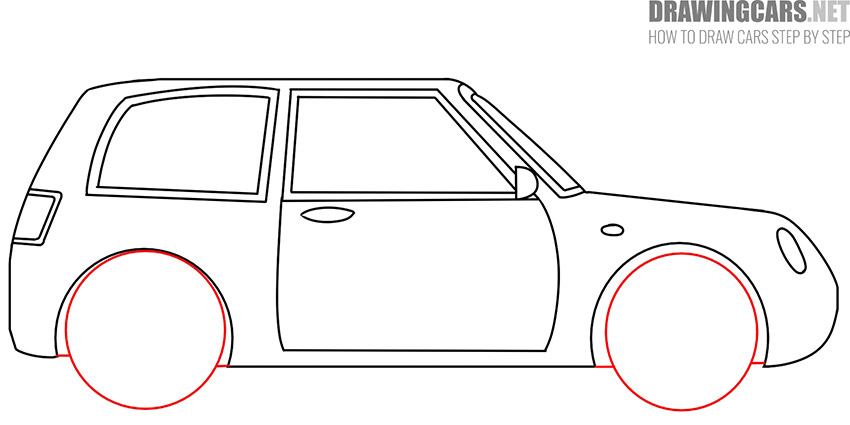
- Draw the wheels.
The body of the car is ready, and now you can draw the front and rear wheels. Draw two even circles and then add small connecting lines between the wheel and the body of the car.
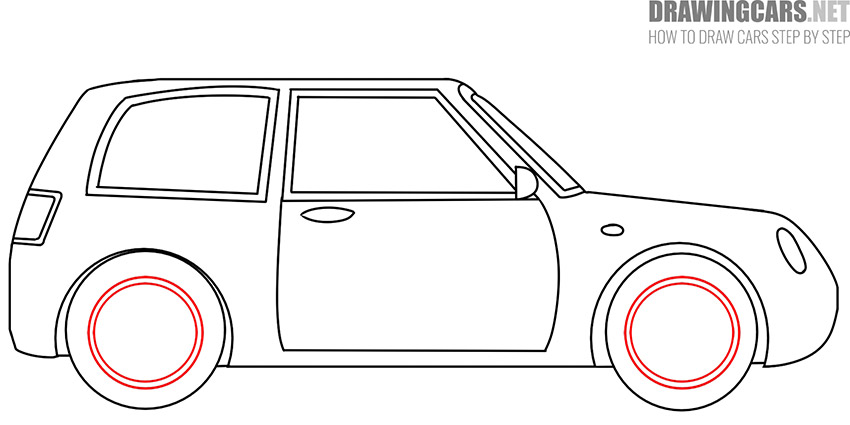
- Add the inner outline of the wheels.
In each wheel, draw two circles of different diameters, while making sure that the wheels are exactly the same.
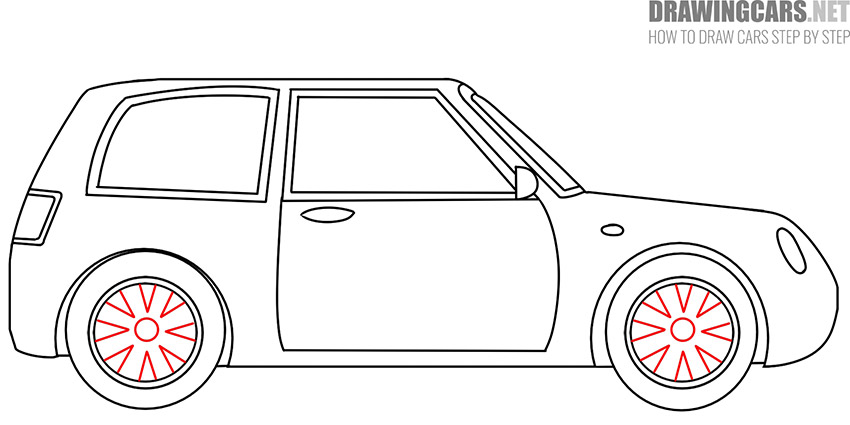
- Sketch out the wheels.
In the middle of each wheel, draw a small circle, then draw lines in succession from the center to the outer outline.
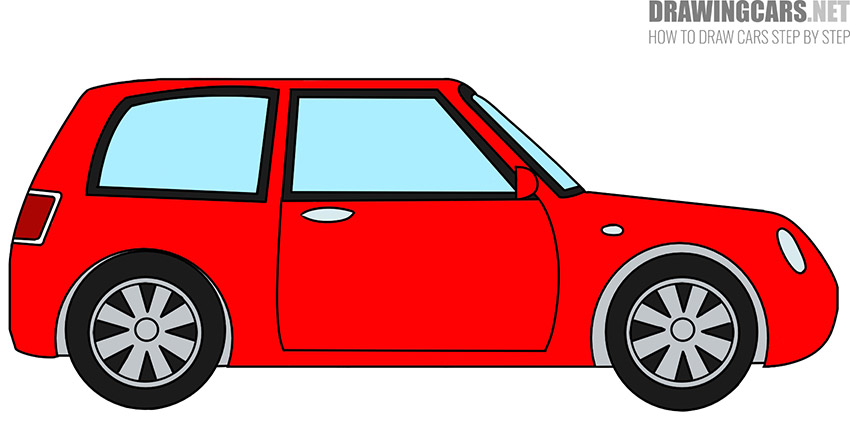
- Color the drawing.
To color the body of the car, you can choose any bright color. We recommend using bright red, but you will also need blue, black and various shades of gray.


This was a fun step-by-step guide on how to draw a small car for kids. We hope that you have correctly followed all the steps in this instruction and are now admiring the result. Share your impressions in the comments, your opinion is very important to us.
Leave a Reply