
With this step-by-step guide, you will learn how to draw a Muscle Car. We have tried to make this manual as clear and accessible as possible.

We are glad that you are interested in our drawing lessons, and we want to offer you a new instruction in which you will learn how to draw a Muscle Car. It is a specific model of two-door sedan that is equipped with a large displacement eight-cylinder engine and shows high-speed performance on the road. These cars were produced in the USA in 1960-1970. It was then that the era of new cars arose, which aroused great interest among many motorists. Initially, such cars were called Super Cars, and a little later, the term Muscle Car arose among car collectors.
The car has a simple and durable design, thanks to this, the service life has been significantly increased. First of all, buyers were attracted by the high power of this car. The external feature of this car is the increased length of the body. These car models were powerful, light and sleek, making them great for travel. It is cars of this type that can often be seen in films and, perhaps, you have already paid attention to this car model more than once.
Now you have learned a few facts about the Muscle Car and you can start drawing. We hope you enjoy this tutorial and have a pleasant experience. Follow the instructions carefully to get the best result.
Time needed: 1 hour
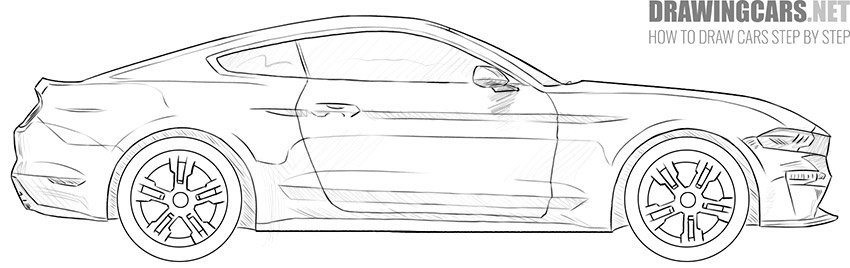
How to Draw a Muscle Car
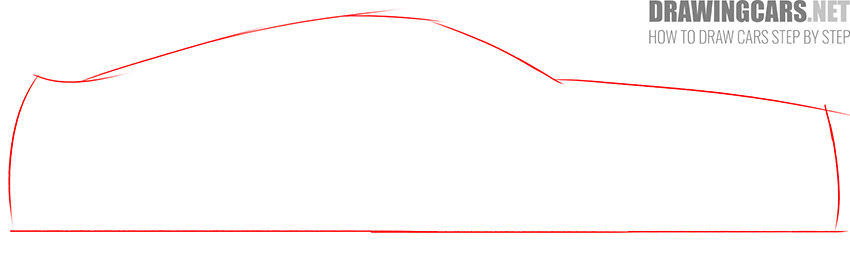
- Draw the main outline.
First draw the baselines, to do this, draw a straight horizontal line and add the upper body of the same shape as shown in the example.
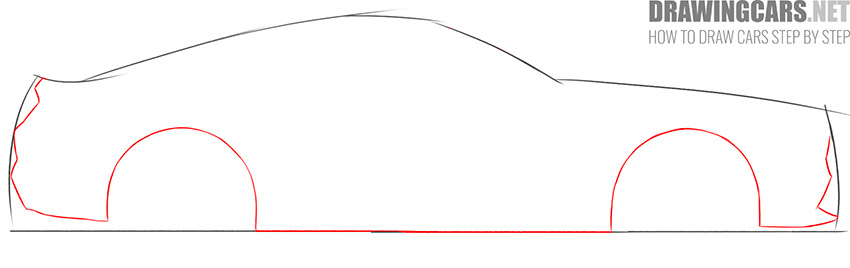
- Depict the sides and bottom of the car.
Use curved lines to shape the front and rear of the car as needed. Use semicircular lines to draw the wheel arches.
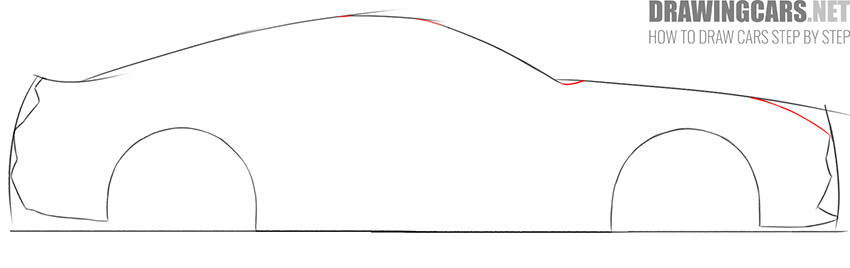
- Shape the top of the case as desired.
Use the lines you drew in the first step as a guide and add the right curves to the top of the car.
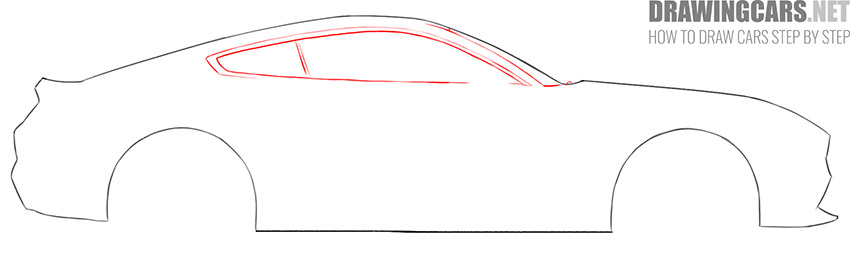
- Sketch out the windows.
Use smooth lines to draw the visible part of the front window and draw the elongated side window in which the upper outline consists of parallel lines, then draw a dividing line.
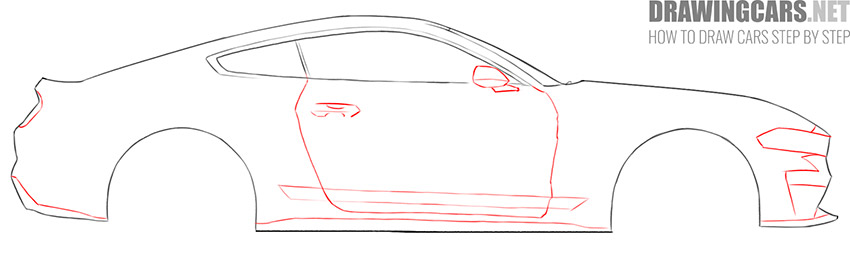
- Add the headlights, door and other elements.
Keep adding new elements to your drawing and now draw the door, doorknob and side mirror. Using lines of various shapes, depict the front and rear lights, detail the lower part of the body.
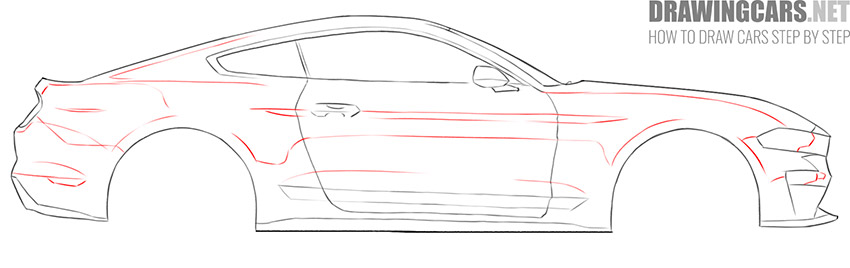
- Detail the surface of the car.
Now you have to add volume to make the car look more realistic. To do this, draw smooth, thin lines on the body of the car.
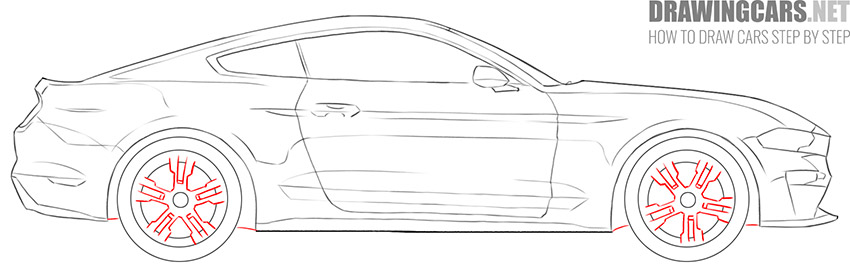
- Draw the wheels.
This step will require you to pay special attention because now you have to depict symmetrical objects. To draw the wheels, draw several circles of different diameters.

- Depict the rims.
In the middle of each wheel, draw the same curly elements, while maintaining equal gaps between them. Then draw short connecting lines from the wheel to the body of the car.
- Add the hatching.
Using short, thin lines, draw dark areas in the area of the wheels and add volume to the bulges of the car so that the drawing looks more natural.
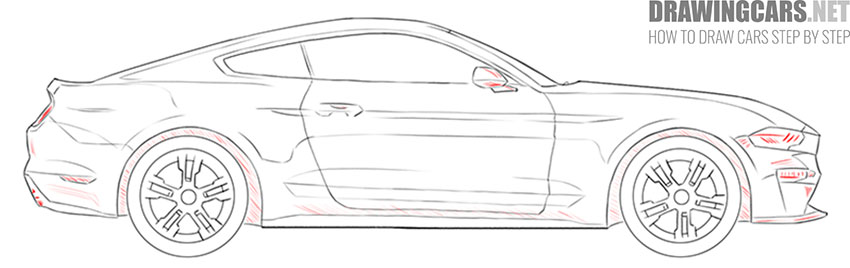
- Finish the drawing.
Excellent! So you have completed all the steps, it remains only to give the drawing a finished look. To do this, carefully trace the car along the contour.


Another drawing lesson has come to an end, and now you have learned how to draw a Muscle Car. In this lesson, you have acquired useful skills that you can successfully use in your next drawings. If you liked this step-by-step guide, then share your impressions in the comments. Subscribe to us on social networks so as not to miss new exciting drawing lessons.
Leave a Reply