
In this tutorial, you will learn how to draw a limousine for kids. You will definitely enjoy this step-by-step guide, because it is simple.

Here is a new instruction on how to draw a limousine for kids. Each step in this tutorial is one simple step that any aspiring artist can easily follow. For your convenience, at each stage of drawing there is a small hint with which you can achieve the best results.
The limousine is a top-class passenger car, which is famous for its reliability and comfort. The limousines have a comfortable lounge, mini bar and air conditioning. This is one of the most unusual cars in the world.
The main feature of this car is that inside there is a glass or plastic partition that separates the driver and passengers. These cars gained recognition as soon as the first models appeared on sale, and they began to be used for trips of important people. There are several types of limousines. The most common option looks like a very long passenger car that can fit a lot of passengers.
Time needed: 45 minutes
How to Draw a Limousine for Kids
- Determine the size and location of the drawing.
First, draw an elongated rectangle to mark the boundaries of the future drawing. At this stage, use only the thinnest lines, which can be easily removed later.
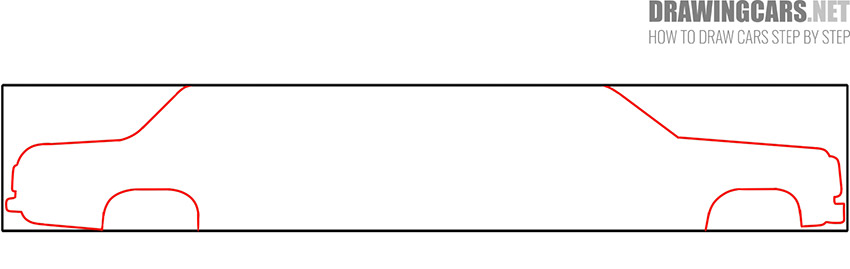
- Add the outline of the car.
Now you need to give your car the correct shape. With the help of smooth lines, depict the front and rear of the car and add two wheel arches.
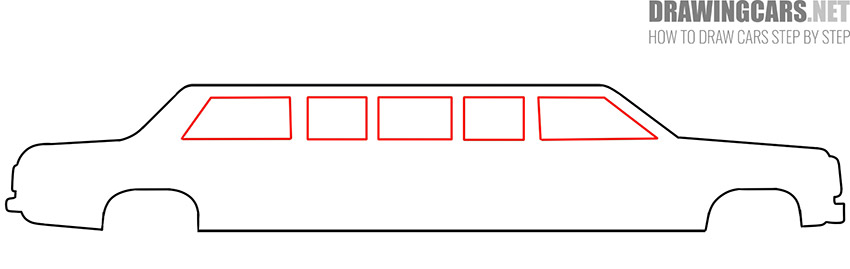
- Sketch out the windows.
With the help of even straight lines, depict five side windows. At the same time, the windows that are located in the middle have the shape of rectangles, and the windows along the edges have the shape of an irregular quadrangle.
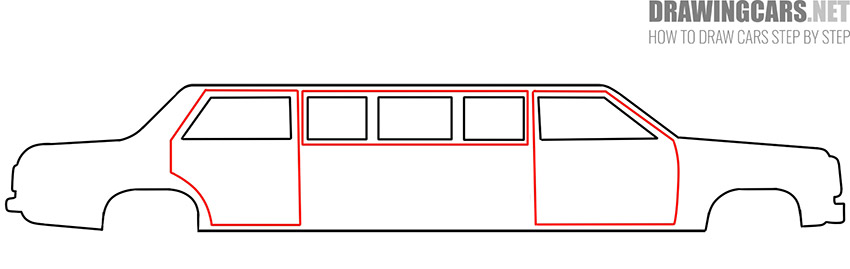
- Draw the doors.
In this step, you must draw the front and back door using straight and curved lines. Draw a rectangle around the windows that are located in the middle of the car.
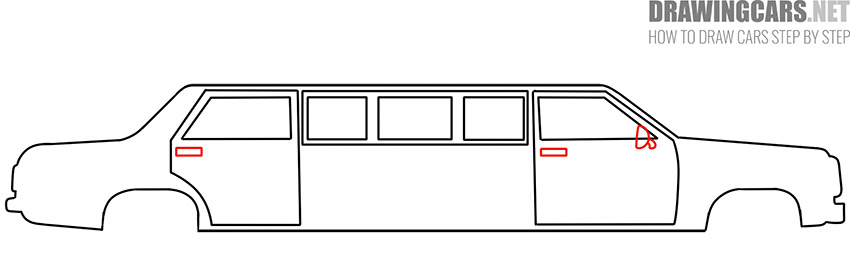
- Depict the door handles and side mirror.
Draw a small elongated rectangle on each door. Add the side mirror on the front door, which has the shape of a semicircle.
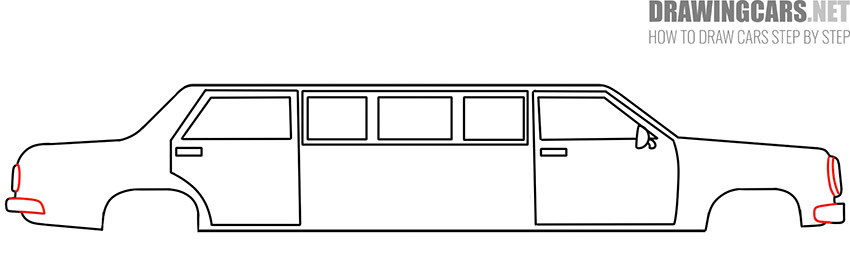
- Add the rest of the small elements.
This will be a simple step in which you need to add structural elements. With the help of smooth lines of various shapes depict the bumper, front and rear lights.
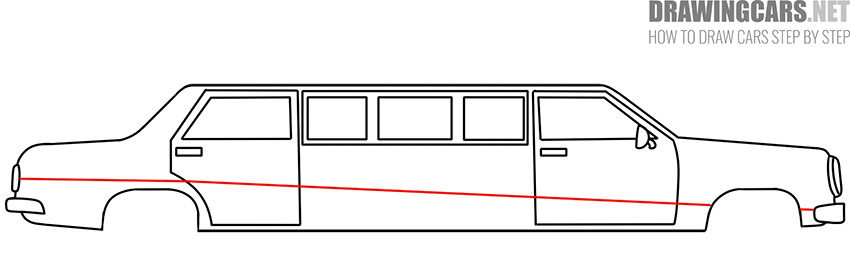
- Detail the surface of the car.
Now carefully draw a straight line along the body of the car. To do this, you can use improvised tools, but it is better to draw the line yourself.
- Sketch out the front and rear wheel.
In this step, draw even circles of different diameters. Make sure that the size of the front and rear wheels is exactly the same.
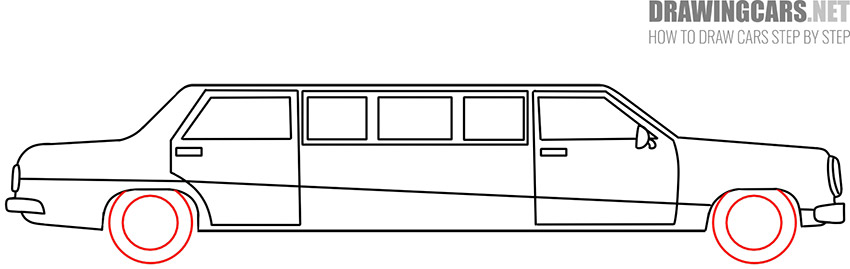
- Draw the rims.
This step is very similar to the previous one, because here you also have to draw circles of different diameters in order to depict the inside of the wheels.

- Color the drawing.
To color the body of the car, use different shades of gray, paint the headlights orange, and you will also need black to paint the tinted windows and wheels.


On this, another drawing lesson came to an end. We hope that you had a pleasant time and gained useful skills. As usual, we will be glad to read your comments, where you share your impressions. We recommend that you complete other lessons on this site and learn how to draw other modern premium cars.
Leave a Reply