
In this tutorial we want to show you how to draw a Honda Civic. You will find exciting creative work and a pleasant pastime.

We invite you to another interesting and useful drawing lesson in which we will show you how to draw a Honda Civic step by step.
If you follow all the steps in this guide, you will acquire useful skills that will definitely come in handy in the future. If you have patience, pencils and an eraser, then everything will definitely work out!
Now you have to draw this reliable and unpretentious car, which is very convenient for moving around the city. We hope you enjoy drawing this Japanese car and have a good time. So grab your art supplies and get to work.
Time needed: 1 hour
How to Draw a Honda Civic
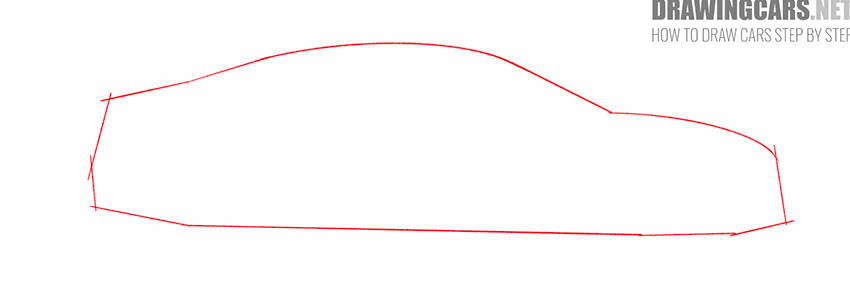
- Draw the base.
First draw the outer contour of the car, using only thin lines that can be easily removed if necessary.
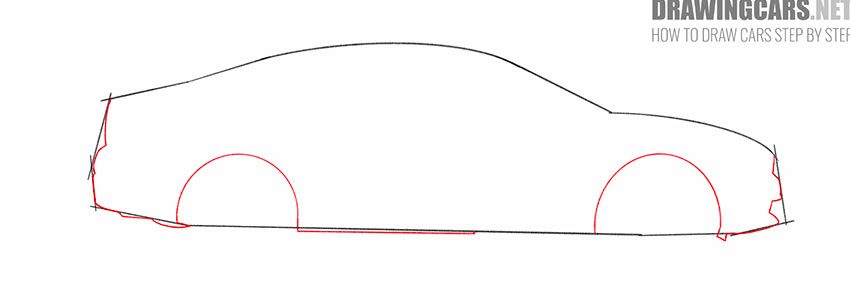
- Give the car the desired shape.
Use several curved lines to outline the front and back of the car. With the help of semicircular lines draw two wheel arches.
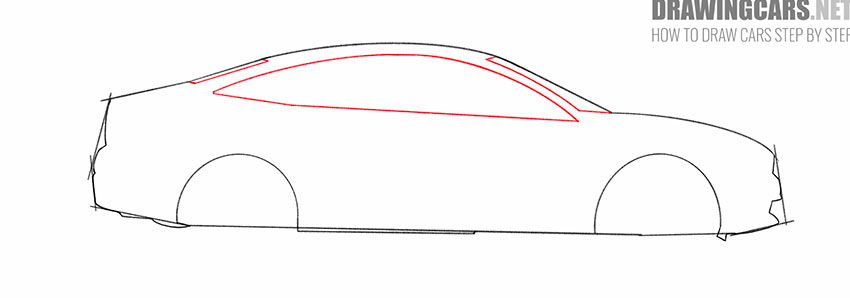
- Sketch out the windows.
Depict the visible part of the front and back window and draw the elongated side window. The bottom of the side window is flatter, while the top has a curve.
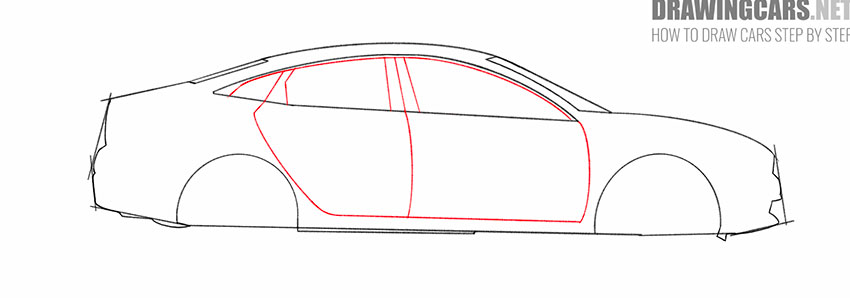
- Add the doors and detail the windows.
Smooth lines mark the outline of the front and rear doors. Draw a smooth line along the top outline of the side window and add some cross lines to divide the window into several sections.
- Detail the wheel arches and add small elements.
Draw a thin, semicircular line above each wheel arch to represent volume. Draw the side mirror and two door handles.
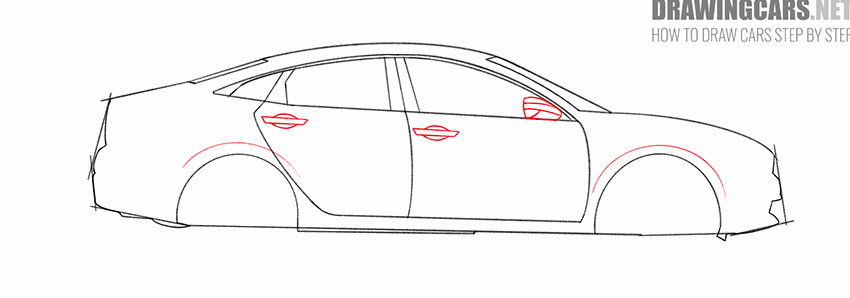
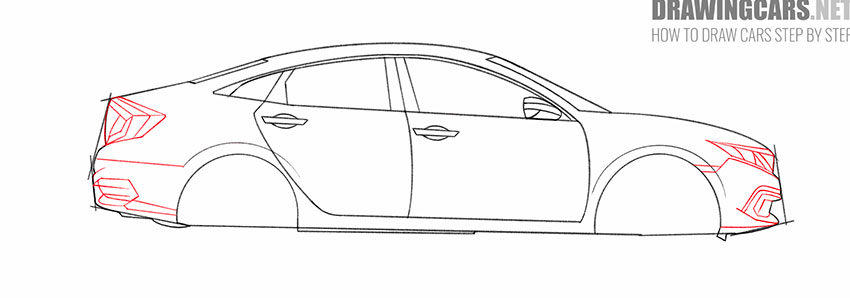
- Depict the headlights and other structural elements.
With the help of straight and curved lines depict the front and rear lights of the same shape as in our example. Add structural elements to the front and rear bumpers.
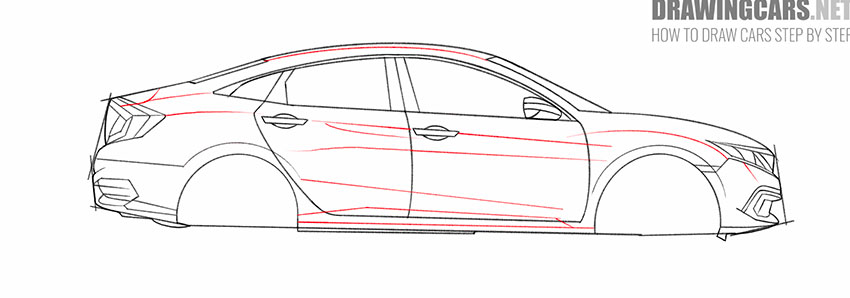
- Detail the body of the car.
Draw a few thin smooth lines on the body of the car in order to highlight the voluminous parts and give the drawing a more realistic look.
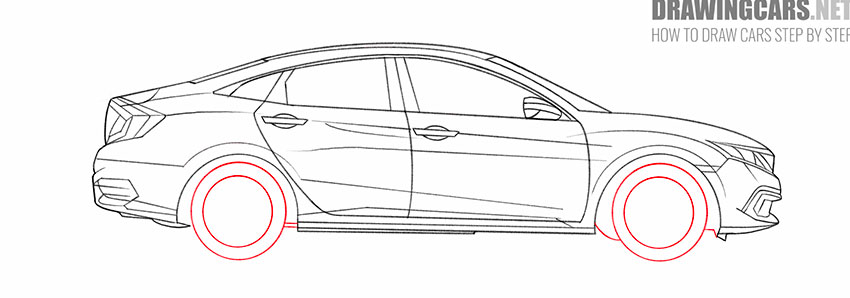
- Sketch out the wheels.
Draw several even circles of different diameters to depict the front and rear wheels. Then add short connecting lines from the wheels to the body of the car.
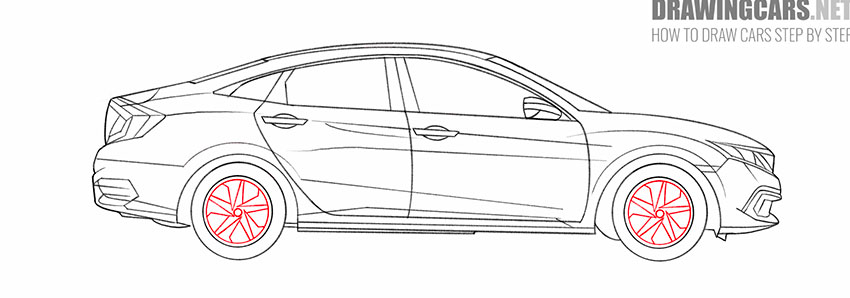
- Add the rims.
Draw a small circle in the center of each wheel, and add shaped elements from the center to the outer edge of the rim.
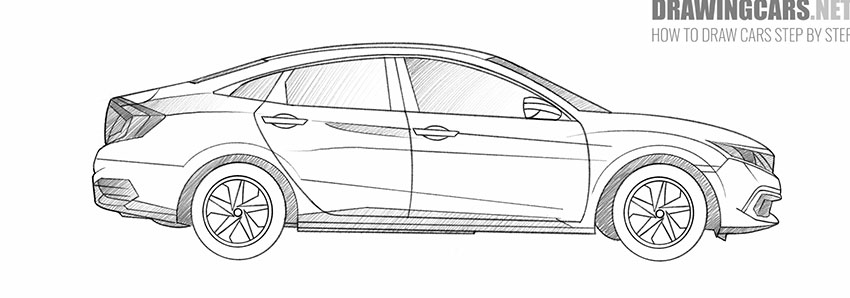
- Add the hatching.
Now give your drawing a finished look. Draw thin dashed lines to indicate the dark areas and raised features on the body of the car.


This is the end of a fascinating lesson on how to draw a Honda Civic. We hope that you have correctly completed all the steps of drawing and the car looks exactly the way you wanted. You can use the acquired skills in the future and draw other Honda Civic models in the same way. If you have questions or suggestions, then you can write about it in the comments.
Leave a Reply