
In this tutorial we will show you how to draw a coupe. If you follow all the steps in this guide, you will gain useful skills.

Let’s continue drawing cars, and now you will learn how to draw a coupe. We tried to make this lesson as clear and accessible as possible so that an artist of any level can easily cope with this creative task.
The coupe is a type of closed car body in which the engine and luggage compartments are separated from the passenger compartment. As a rule, this body type has two doors, one or two rows of seats.
In this tutorial, you will be drawing a two-door car that has a coupe body. This car has a stylish design and always attracts attention. In the process of drawing, use small hints to achieve the best results.
Take your time and try to carefully draw all the lines. Now prepare all the necessary art supplies and begin to consistently follow all the steps in this instruction, and we wish you creative success.
Time needed: 45 minutes
How to Draw a Coupe
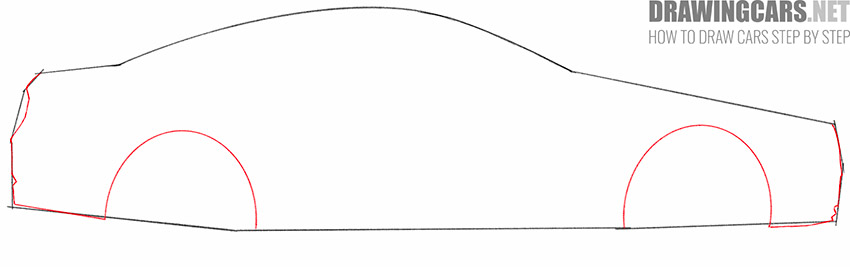
- Draw the base.
Start drawing by building baselines. You should define the outer boundaries of your drawing with thin lines that can be easily corrected and removed if necessary.

- Start shaping the cars.
Using curved lines to depict the front and back of the car. Use semicircular lines to represent the two wheel arches.
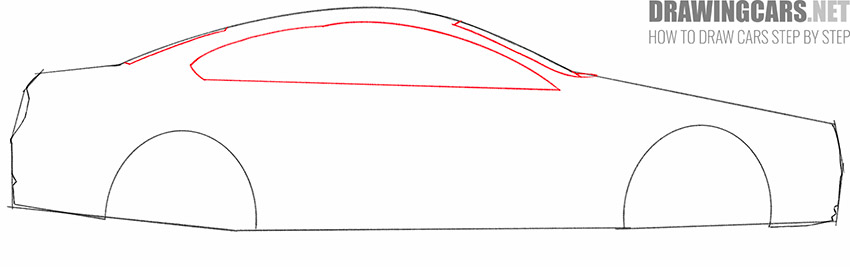
- Depict the windows.
Add the visible part of the front and rear windows. Draw the elongated side window, the front of which provides an acute angle.
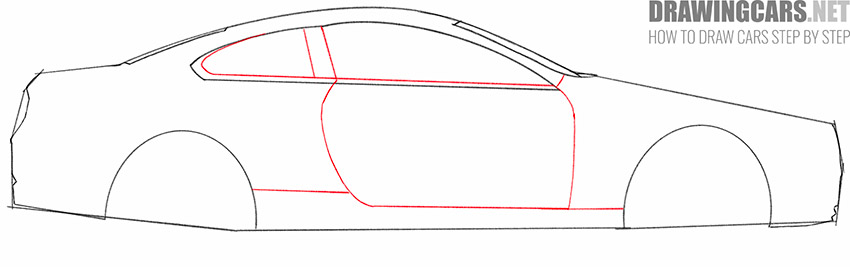
- Draw the door and detail the window.
Add the outline of the door with smooth lines, add horizontal lines below. Draw a parallel line along the bottom outline of the side window and add two transverse lines.
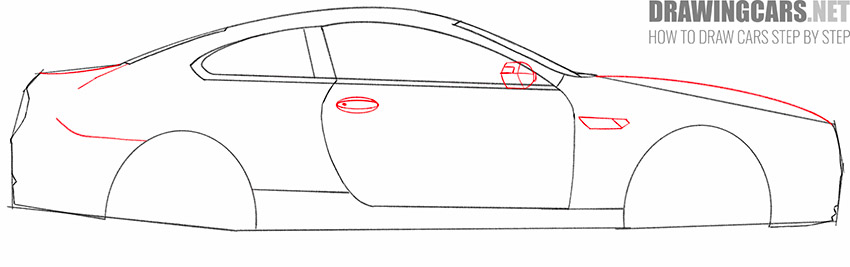
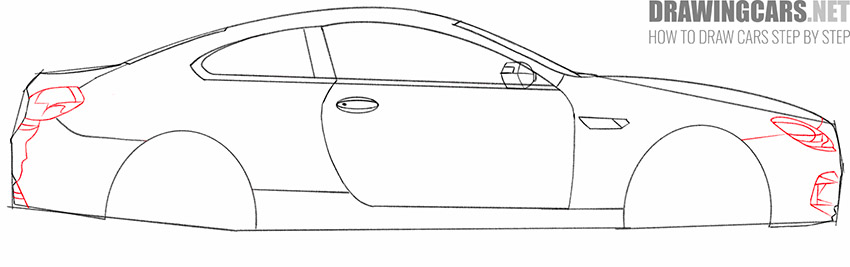
- Detail the contour of the car and add small elements.
With the help of smooth lines draw the outline of the front and rear of the car. Add the side mirror, the oval-shaped door handle, and a small structural element near the door.
- Sketch out the headlights.
Use straight and curved lines to depict the front and rear lights. Take your time and try to draw the headlights of the same shape as in our example.
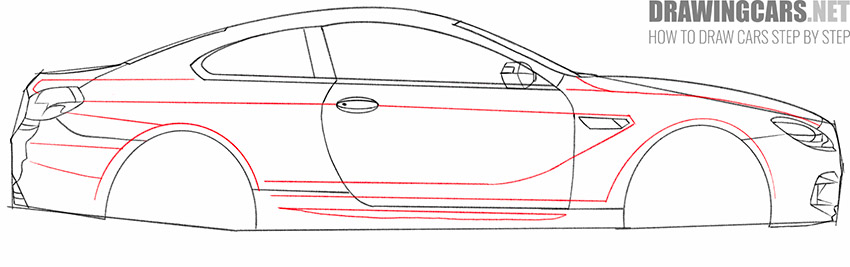
- Detail the body of the car.
On the body of the car, draw longitudinal lines in order to indicate all the volumetric parts and give the car a more realistic look.
- Add the wheels.
Draw several even circles of different diameters in order to depict the outer and inner contours of the wheels. Draw small connecting lines from the wheels to the body of the car.

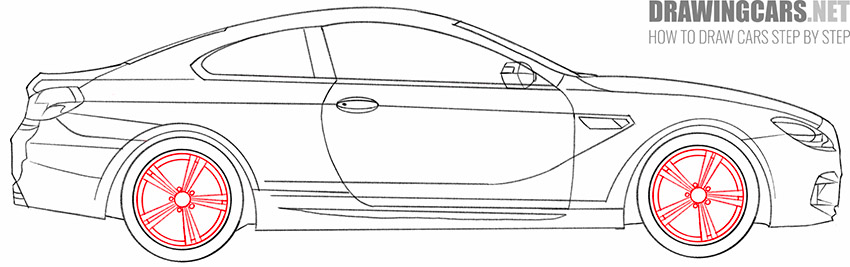
- Depict the wheels.
Draw a small circle in the center of each wheel and add curly elements around it. Be careful and make sure that the rims are exactly the same.
- Add the hatching.
Draw thin lines around the wheels, on the side window and on all the protruding elements of the car in order to depict the volume and highlight the dark areas.
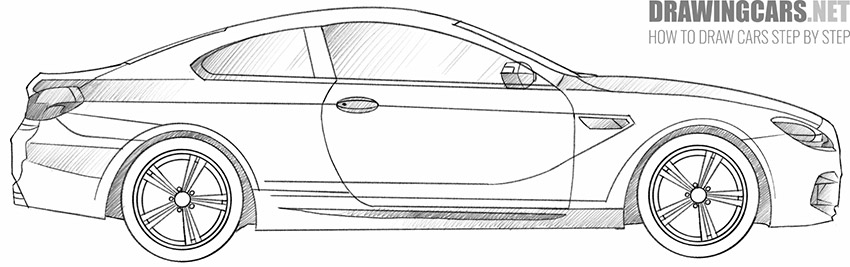


Now you have completed all the steps in this instruction, and you can evaluate the result of your work. If you tried your best at each stage of drawing, then you should get a great drawing. Now you can use these same drawing principles to create amazing new drawings. Share your impressions in the comments, we will be glad to receive feedback from you.
Leave a Reply