
In this lesson we want to show you how to draw a car in 3/4 front view. This lesson will be very useful for you.

We are pleased to present you a clear and accessible step-by-step guide with which you will learn how to draw a car in 3/4 front view. You can depict cars in the figure from various angles. Sometimes you may see a drawing that shows only the front of the car. But the most attractive is the angle, when the focus is a little to the side, so you can see much better.
The image of an object in 3/4 front view means that we see this object at an angle of approximately 45º. Various vehicles are often depicted from this angle so that both the front and sides of the object can be seen. The ability to draw a car’s 3/4 front view is very important and useful for any artist.
If you master this drawing lesson, you can easily draw a similar model as the main object of the drawing or as an addition to any of your paintings. While drawing, try to draw the same lines as shown in our example. If you are ready to get started, grab all the necessary art supplies right now and tune in to the creative process. We wish you to do well with this exciting task and achieve the desired results.
Time needed: 1 hour
How to Draw a Car in 3/4 front View
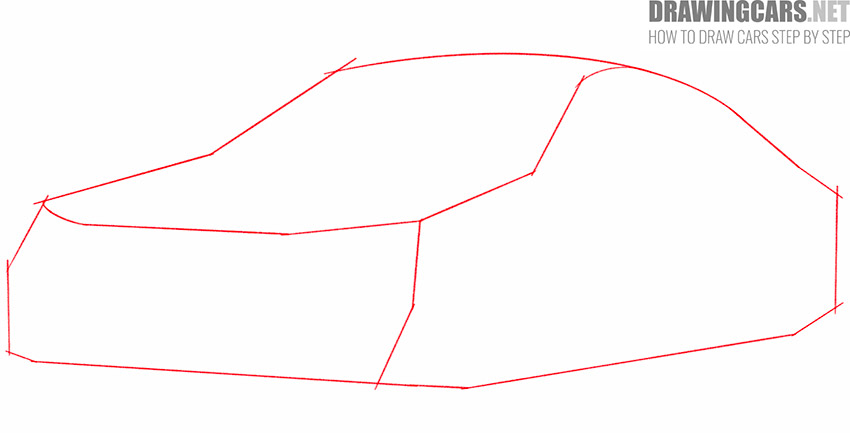
- Draw the main outline.
As usual, start drawing by building baselines. Determine the size of the future drawing and use thin lines to mark the outer boundaries of the car.
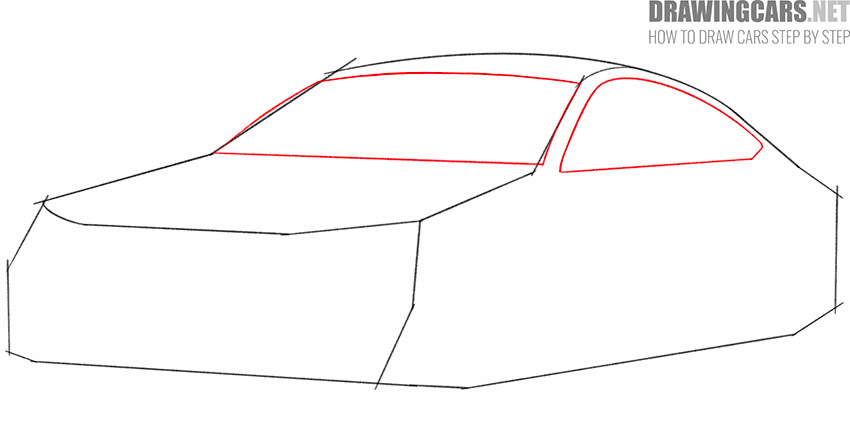
- Sketch out the outlines of the car windows.
Inside the previously drawn outline of the main body of the car, add the windshield and side windows using straight and curved lines of varying lengths.
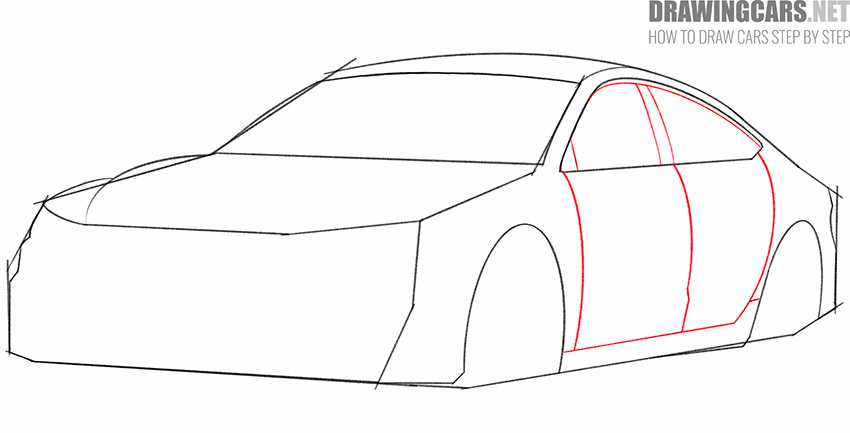
- Add the outlines of the arches, as well as the front and rear of the car.
Use arcs of various sizes, as well as straight and curved lines, to depict the relief of the front and rear of the car, as well as indicate the lower side.

- Depict the doors.
Below the previously drawn window on the side of the car, add the outlines of the doors and the threshold at the bottom of them, using straight and curved lines of different lengths.
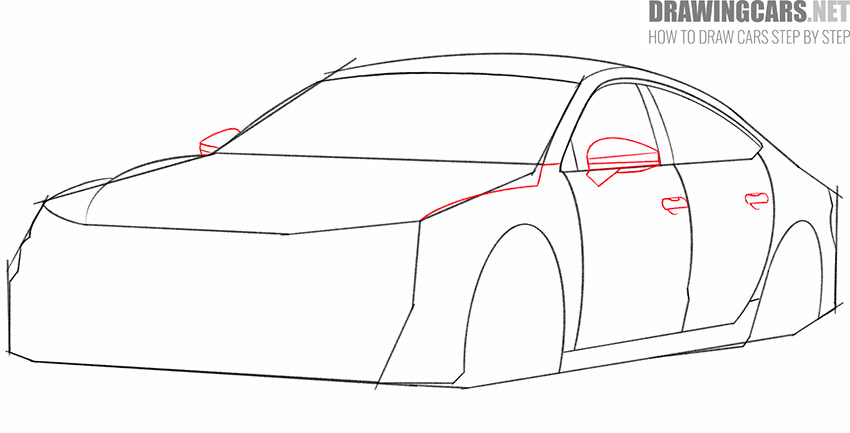
- Add the side mirrors, door handles and other elements.
Use straight and curved lines, as well as arcs, to add the hood relief, as well as the same handles on the doors and mirrors on the sides of the car.
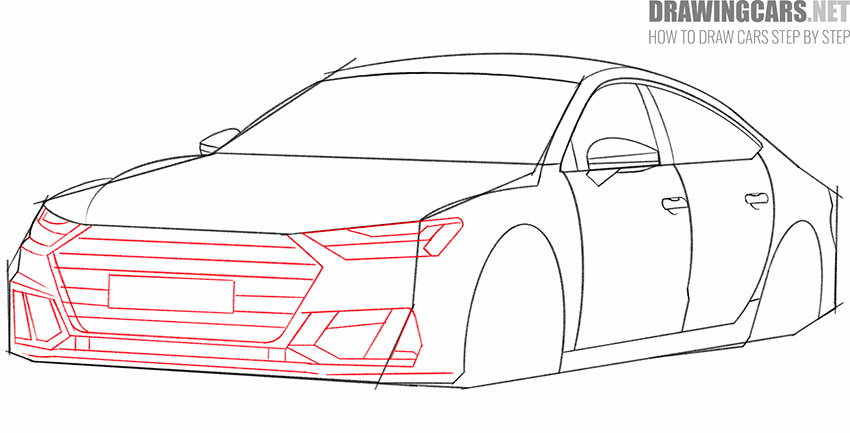
- Draw the elements in front of the car.
Depict straight horizontal and slanted lines of various lengths, a rectangle, as well as a few slightly rounded lines.
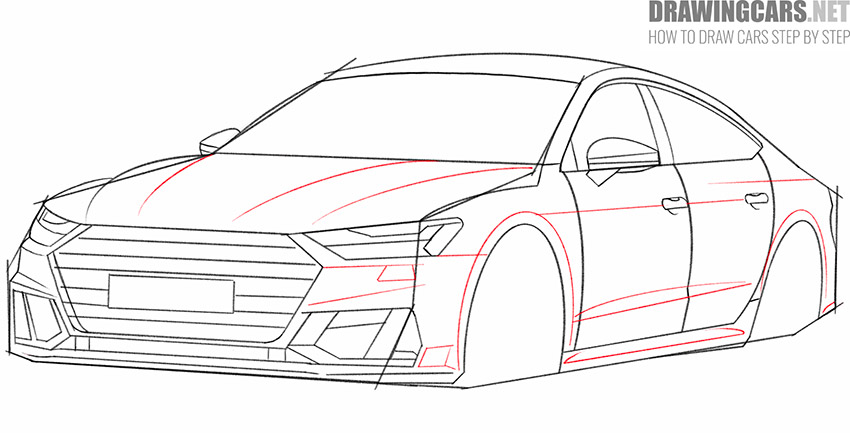
- Depict the car more embossed.
To mark the places of bulges, you should draw straight and curved lines, as well as arcs to add volume to the arches, threshold and other elements.
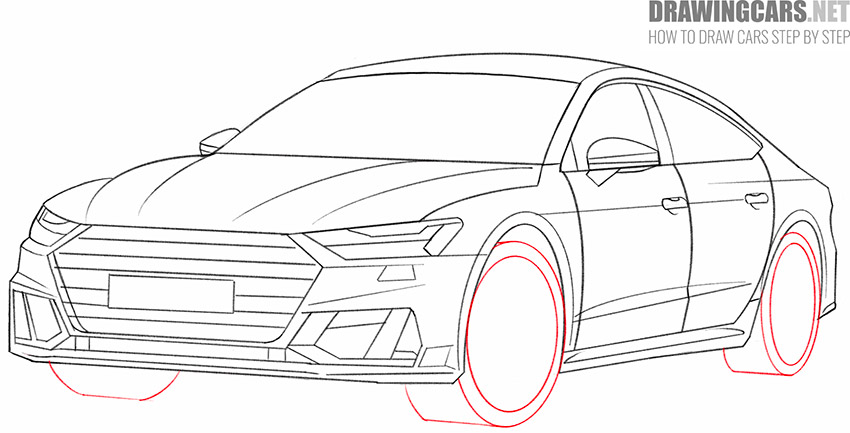
- Add the wheels of the car.
Now you need to add ovals, arcs, as well as straight lines of different sizes to draw the three visible wheels of the car.
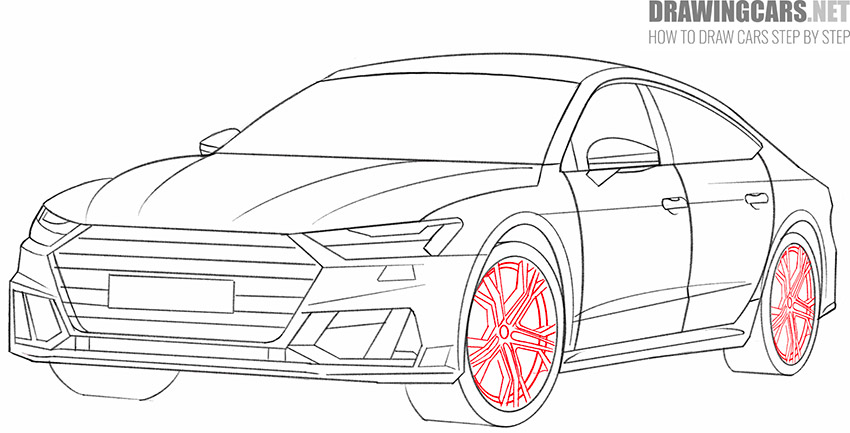
- Finish drawing the two wheels.
From the outer part of the two visible wheels of the car, located on the right side, add a lot of straight lines of different lengths, as well as ovals and arcs.
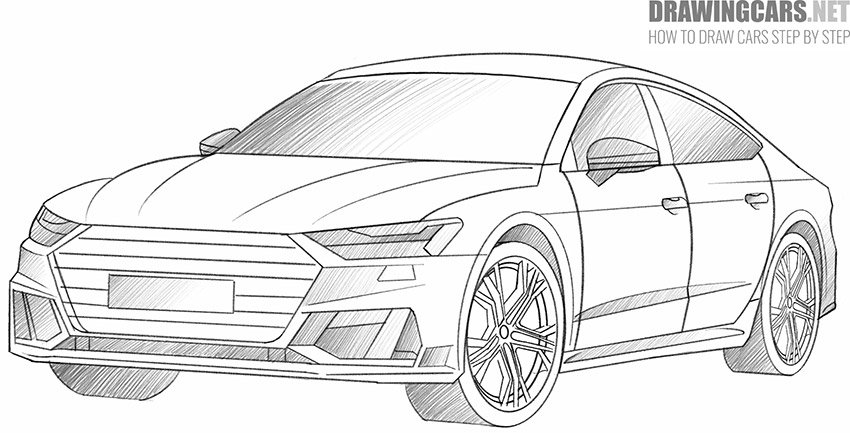
- Finish the drawing.
To make your drawing look more realistic and voluminous, you should apply shadow areas using hatching of different densities.


Now you know how to draw a car in 3/4 front view. We hope that you liked this lesson very much, and you have a desire to visit other useful drawing lessons presented on this site. With the help of our clear and accessible instructions, you will greatly improve your car drawing skills. Draw as often as possible, share your impressions and leave your feedback. We always focus on your opinion when compiling new drawing lessons and are happy to be useful to you!
Leave a Reply