
This is a tutorial on how to draw a car from the back for beginners. To do this, you will need an aspiring artist’s kit. This is pencil, paper, and eraser.

If you are wondering how to draw a car from the back for beginners, you are on the right way. We took a modern mass-produced Audi car as an example. Most of the cars have similar construction. So it will not be difficult for you to draw another model step by step in the future.
Time needed: 45 minutes
How to draw a car from the back for beginners
- Draw the body.
First, sketch out the outlines of the car using strict, straight lines. It’s elementary.

- Make the right form.
Then you need to smooth out some of the lines of the vehicle body. This will give the car outline the desired form.

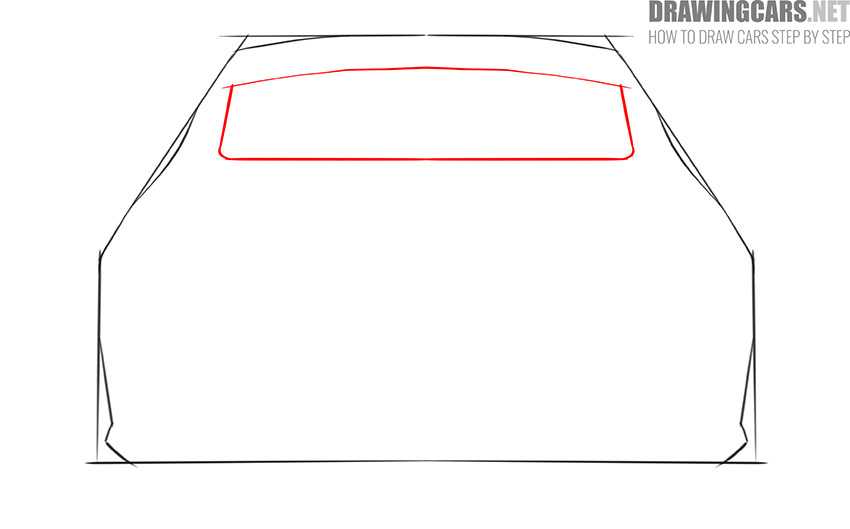
- Draw the window.
The next step is to outline the rear window of the car. Straight and smooth lines, just what you need.
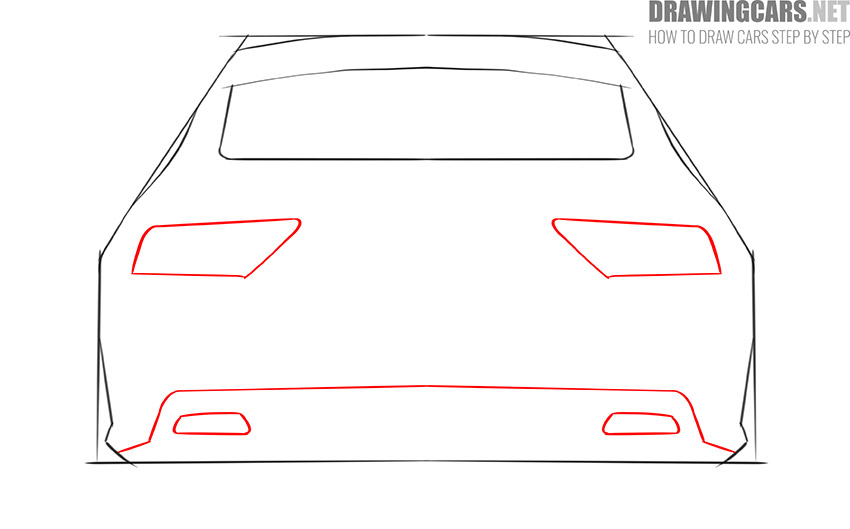
- Sketch out the taillights.
In this step, draw the Audi taillights. Left and right. You also need to depict the decorative bumper strip.
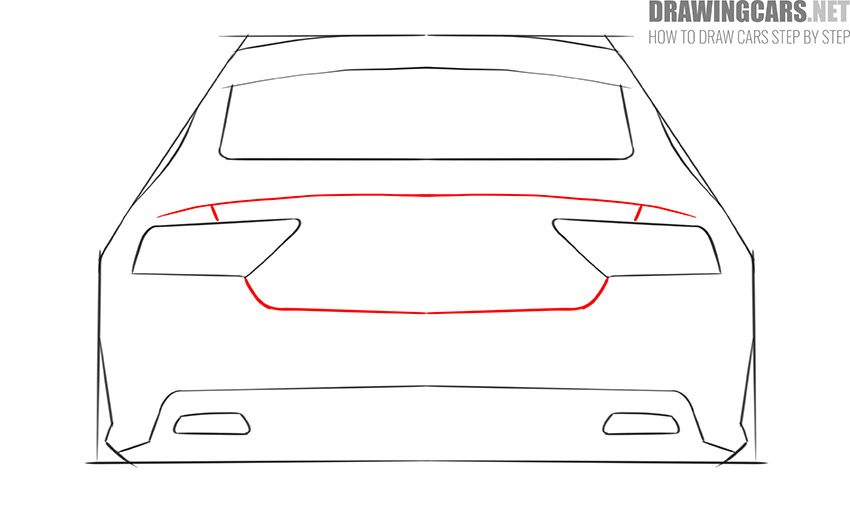
- Draw the trunk.
Now you should draw the rear trunk lid. Use rounded lines as in our example.
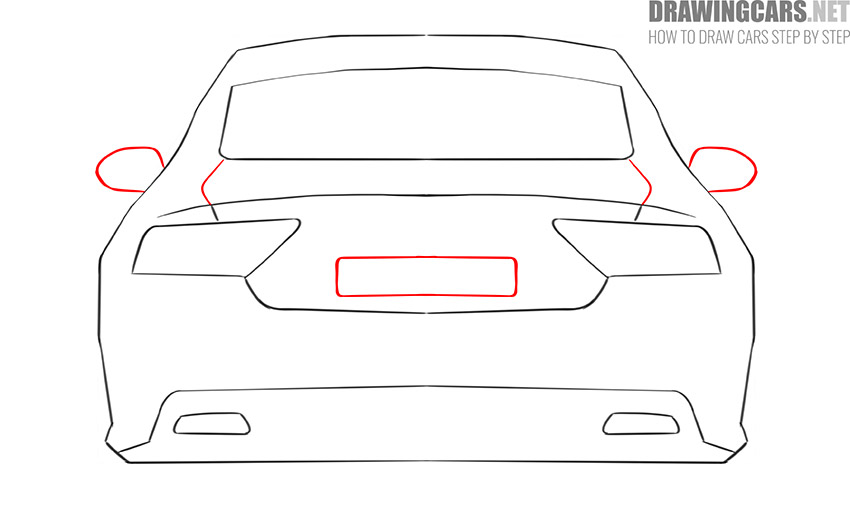
- Add some details on the car from the back.
Draw the vehicle side mirrors. Then add the necessary lines to continue the trunk lid. Don’t forget to outline the license plate.
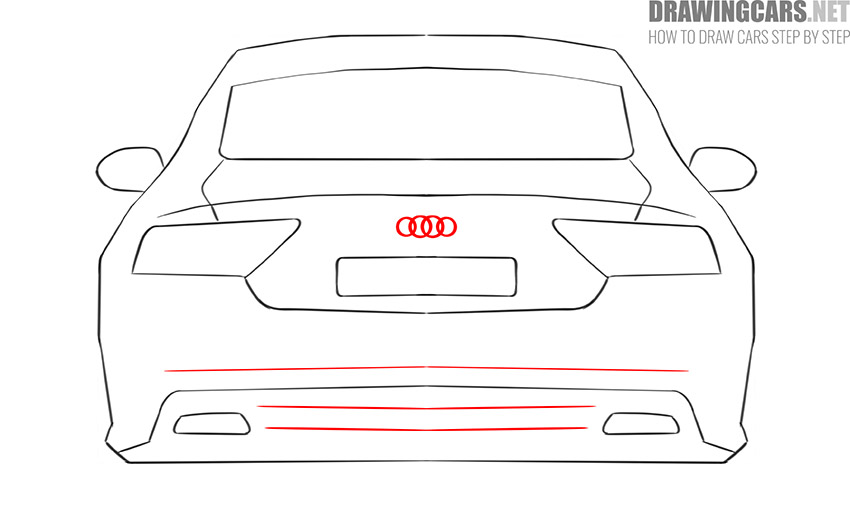
- Depict the brand’s mark.
In this step, outline the Audi brand mark. Also draw the lines of the body of the rear of the car, as in the picture of our instruction.
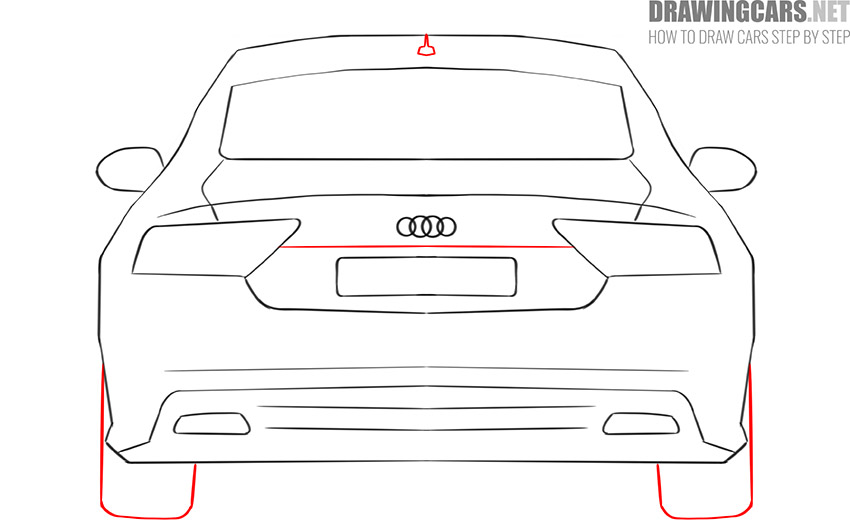
- Draw the wheels.
You should draw the tires of the vehicle. Everything is simple here. Mark the fin antenna on the roof. And don’t forget to add the final line to the trunk lid.
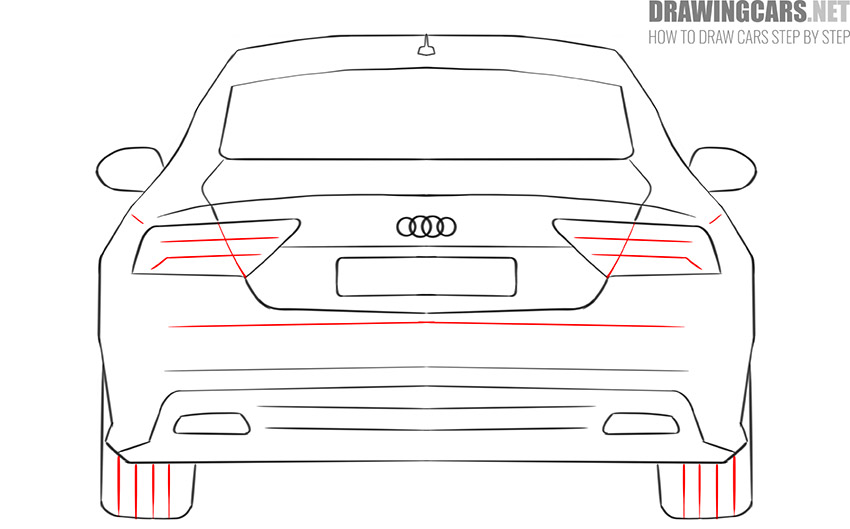
- Detail the body.
At this stage, you need to add lines to all elements of the Audi. To body, taillights, and wheels, to make the car look more realistic.
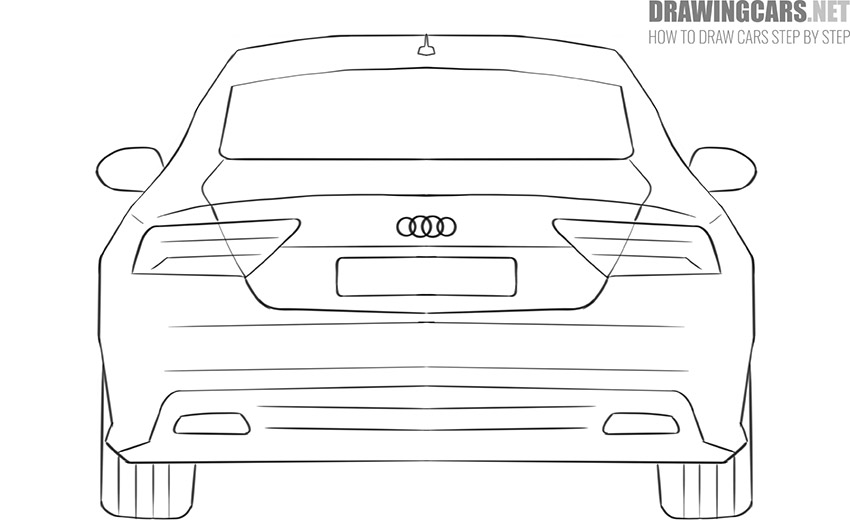
- Finish the drawing.
Erase all the auxiliary lines in the drawing of the car from the back, if they suddenly remain. Complete the drawing. Great job!


Leave a Reply